
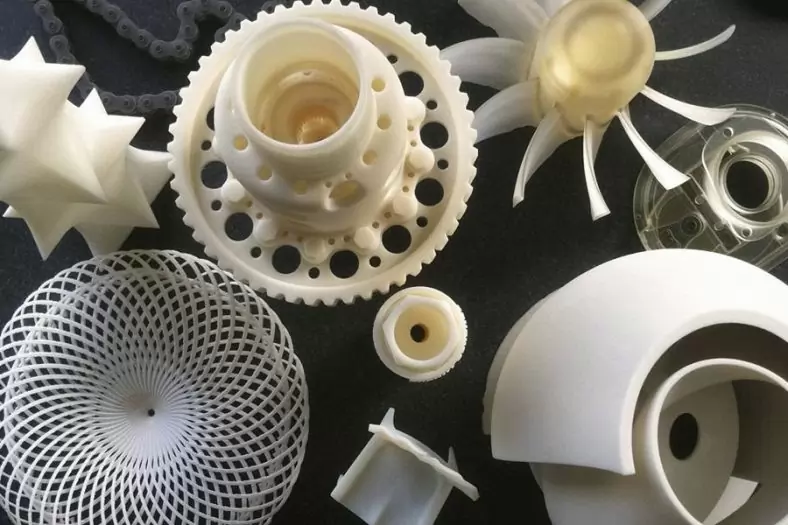
Three-dimensional (3D) printing, also known as additive manufacturing, has revolutionized the production of complex objects by enabling the layer-by-layer deposition of materials such as plastics, metals, and ceramics. One of the evolving aspects of this technology is the incorporation of color, particularly in the context of text, to enhance both aesthetic appeal and functional communication. Adding different colored text to 3D prints is a multidisciplinary challenge that intersects materials science, engineering, design, and artistic expression. This article provides a comprehensive exploration of the methods, tools, and scientific principles involved in achieving multicolor text in 3D printing, with an emphasis on both single-extruder and multi-extruder systems. Through detailed explanations, comparative analyses, and practical considerations, readers will gain a thorough understanding of how to implement this technique effectively.
The ability to integrate colored text into 3D-printed objects has applications ranging from educational models and prototypes to personalized consumer goods and scientific visualizations. Unlike traditional manufacturing, which often applies color post-production, 3D printing allows for in-process color integration, offering unique opportunities and challenges. This article delves into the physics of filament-based printing, the mechanics of color transitions, and the practical workflows for achieving high-quality results. It also includes detailed tables comparing techniques, materials, and outcomes to provide a scientific foundation for decision-making.
Fundamentals of 3D Printing and Color Integration
To understand how to add different colored text to a 3D print, it is essential to first grasp the basics of fused deposition modeling (FDM), the most common 3D printing technology for hobbyists and researchers alike. FDM involves extruding a thermoplastic filament through a heated nozzle, which deposits material layer by layer to form a solid object. The filament, typically made of polylactic acid (PLA), acrylonitrile butadiene styrene (ABS), or polyethylene terephthalate glycol (PETG), is fed into the extruder from a spool. In its simplest form, FDM uses a single filament, resulting in a monochromatic print. However, introducing multiple colors, especially for text, requires modifications to this process.

Color in 3D printing can be achieved either during the printing process or as a post-processing step. For text specifically, the goal is to create legible, visually distinct characters that contrast with the surrounding material. This requires precise control over where and how color changes occur within the print. The primary methods for achieving this include filament swapping, multi-extruder printing, inlay techniques, manual painting, and advanced technologies like binder jetting or PolyJet printing. Each method has its scientific underpinnings, advantages, and limitations, which will be explored in depth.
Method 1: Filament Swapping with a Single Extruder
Overview and Mechanism
Filament swapping is one of the most accessible techniques for adding colored text to a 3D print using a single-extruder printer. This method involves pausing the print at a predetermined layer height, manually replacing the filament with a different color, and resuming the print. It is particularly suited for text that appears on the surface of an object, such as labels or logos, where the color change occurs vertically between layers.
The process relies on the slicer software—such as Ultimaker Cura, PrusaSlicer, or Simplify3D—which converts a 3D model (typically in STL format) into a set of instructions (G-code) for the printer. The user identifies the layer at which the text begins and inserts a pause command into the G-code. When the printer reaches this point, it halts, allowing the user to unload the current filament and load a new color. Once resumed, the printer continues with the new filament, creating a distinct color boundary.
Scientific Principles
The success of filament swapping hinges on several physical and mechanical principles. First, the thermoplastic filament must be fully purged from the nozzle during the transition to avoid color contamination. When switching from a dark color (e.g., black) to a light color (e.g., white), residual material in the nozzle can mix with the new filament, resulting in a muddy or streaked appearance. This phenomenon, known as color bleeding, is governed by the viscosity and melting point of the filament, as well as the nozzle temperature. For PLA, a common filament, the typical extrusion temperature ranges from 180°C to 220°C, and a small amount of new filament (approximately 10–20 mm) must be extruded manually to clear the nozzle.
Second, layer adhesion must be maintained across the color transition. The pause introduces a cooling period, during which the partially printed object may contract slightly due to thermal shrinkage. This can weaken the bond between layers if the print bed or ambient temperature is not controlled. To mitigate this, many printers feature a heated bed (typically 50–60°C for PLA), and users can insulate the print area to minimize temperature gradients.
Practical Workflow
- Design the Model: Using 3D modeling software like Tinkercad, Fusion 360, or Blender, create an object with raised or recessed text. Raised text is easier for filament swapping, as the color change aligns with the vertical layering process. For example, a 5 mm thick base with 2 mm raised text requires a color switch at the 5 mm height.
- Slice the Model: Import the STL file into a slicer. Set the layer height (e.g., 0.2 mm, a common standard for detail and speed) and determine the exact layer where the text begins. For a 5 mm base, at 0.2 mm per layer, the text starts at layer 25 (5 ÷ 0.2 = 25).
- Insert Pause Command: In Cura, use the “Post-Processing” plugin to add a “Pause at Height” script. Set the pause at 5 mm (or layer 25), and configure settings like park position (where the print head moves during the pause) and retraction (to prevent oozing).
- Print and Swap: Start the print with the base color (e.g., blue). When the printer pauses at 5 mm, unload the blue filament, load the text color (e.g., yellow), and extrude a small amount to purge the nozzle. Resume the print.
- Post-Processing: After completion, inspect the text for clarity and adhesion. Minor imperfections can be smoothed with sandpaper or a heat gun.
Advantages and Limitations
Filament swapping is cost-effective, requiring no additional hardware beyond a standard FDM printer (e.g., Creality Ender 3, priced around $200 USD as of February 24, 2025). It is ideal for simple designs with one or two color changes. However, it is time-intensive, as each pause requires manual intervention, and it struggles with complex designs requiring multiple color changes within a single layer. Color bleeding and layer misalignment are also potential issues, particularly with low-quality filaments or inconsistent printer calibration.
Comparative Analysis
| Aspect | Filament Swapping |
|---|---|
| Equipment Needed | Single-extruder FDM printer |
| Cost | Low (filament only) |
| Complexity | Moderate (manual intervention) |
| Color Precision | Moderate (risk of bleeding) |
| Time | High (pauses add time) |
| Best Use Case | Raised text on flat surfaces |
Method 2: Multi-Extruder Printing
Overview and Mechanism
Multi-extruder 3D printers, such as the Prusa i3 MK3S+ with MMU2S or the Flashforge Creator Pro, feature two or more nozzles, each loaded with a different filament color. This allows for simultaneous or sequential printing of multiple colors within the same layer, making it ideal for intricate text designs embedded in complex geometries.
In this method, the 3D model is segmented into parts corresponding to each color (e.g., base and text). The slicer assigns each part to a specific extruder, generating G-code that coordinates the movement of multiple print heads. For example, a white base can be printed with extruder 1, while red text is printed with extruder 2, either as raised features or inlays.
Scientific Principles
Multi-extruder printing leverages precise thermal and mechanical control. Each extruder operates at its own temperature, tailored to the filament type (e.g., PLA at 200°C, PETG at 230°C). The nozzles must be perfectly aligned to avoid gaps or overlaps, a process known as calibration. Misalignment, even by 0.1 mm, can blur text edges, reducing legibility. This is governed by the stepper motors’ precision, typically measured in steps per millimeter (e.g., 100 steps/mm for a standard NEMA 17 motor).
Purging towers or wipe towers—small structures printed alongside the main object—are often used to clean the nozzle between color switches, minimizing cross-contamination. The physics of filament retraction (pulling the filament back to prevent oozing) is critical here, as excessive retraction can clog the nozzle, while insufficient retraction causes stringing.
Practical Workflow
- Design the Model: Create a multi-part model in software like Autodesk Fusion 360, exporting separate STL files for the base and text. For example, a 10 mm cube with 2 mm raised “TEST” text would have two files: “cube.stl” and “text.stl”.
- Configure the Slicer: In PrusaSlicer, import both STLs, assign “cube.stl” to extruder 1 (white PLA) and “text.stl” to extruder 2 (red PLA). Adjust settings like layer height (0.15 mm for finer text) and enable a wipe tower.
- Print: Load white and red PLA into the respective extruders, calibrate the printer, and start the print. The printer alternates between extruders as needed, building the object layer by layer.
- Post-Processing: Remove the wipe tower and inspect the print. Sand or trim any stringing or minor defects.
Advantages and Limitations
Multi-extruder printing offers high precision and flexibility, enabling complex, multi-color text within a single layer. However, it requires a more expensive printer (e.g., $700–$1,000 USD) and advanced setup, including extruder alignment and filament management. Nozzle clogs and filament waste (from purging) are common challenges.
Comparative Analysis
| Aspect | Multi-Extruder Printing |
|---|---|
| Equipment Needed | Multi-extruder FDM printer |
| Cost | High (printer + filament) |
| Complexity | High (calibration required) |
| Color Precision | High (clean transitions) |
| Time | Moderate (automated) |
| Best Use Case | Complex, multi-color text |
Method 3: Inlay Technique
Overview and Mechanism
The inlay technique involves printing a base object with recessed text, then filling the recesses with a different color material—either by printing a separate insert or manually applying filament. This method can be executed with a single-extruder printer or enhanced with multi-extruder systems.
For single-extruder use, the base is printed with cavities shaped like the text, paused at the recess height, and then resumed with a new color. Alternatively, the inserts can be printed separately and press-fitted into the recesses post-printing.
Scientific Principles
The inlay technique exploits the dimensional accuracy of 3D printing. Recesses must be slightly larger than the inserts (e.g., 0.1 mm tolerance) to account for filament shrinkage and ensure a snug fit. This is influenced by the coefficient of thermal expansion (e.g., PLA shrinks ~0.3% upon cooling). The depth of the recess determines the text’s visibility; a depth of 0.4–0.8 mm (2–4 layers at 0.2 mm height) balances legibility and structural integrity.
Adhesion between the base and inlay material depends on intermolecular bonding, enhanced by matching filament types (e.g., PLA to PLA). Manual inlays using a 3D pen involve melting filament at ~200°C, where viscosity ensures it flows into the recess without excessive spread.
Practical Workflow
- Design the Model: In Tinkercad, create a base (e.g., 50 × 50 × 5 mm) with recessed text (e.g., “DATA” at 0.6 mm depth). Export the base as “base.stl” and the text as “text.stl” if printing separately.
- Single-Extruder Process: Slice “base.stl” and pause at the recess bottom (e.g., 4.4 mm for a 5 mm base with 0.6 mm recess). Swap filament (e.g., black to green) and resume.
- Separate Inlay Process: Print “base.stl” in black, then “text.stl” in green. Press the green text into the black base, using a dab of adhesive if needed.
- Manual Inlay: Print “base.stl” with recesses, then use a 3D pen to fill them with colored filament, smoothing with a tool if necessary.
Advantages and Limitations
The inlay technique offers crisp text outlines and is adaptable to single-extruder setups. However, manual inlays are labor-intensive, and separate inserts require precise design to fit. Color bleeding is minimal compared to filament swapping.
Comparative Analysis
| Aspect | Inlay Technique |
|---|---|
| Equipment Needed | Single- or multi-extruder |
| Cost | Moderate (optional 3D pen) |
| Complexity | Moderate to High (design) |
| Color Precision | High (sharp edges) |
| Time | High (manual steps) |
| Best Use Case | Recessed text with contrast |
Method 4: Manual Painting
Overview and Mechanism
Manual painting involves printing a monochromatic object with raised or recessed text, then applying color post-printing using paints, markers, or a 3D pen. This method bypasses in-process color changes, focusing instead on surface treatment.
Scientific Principles
Paint adhesion relies on surface energy and porosity. PLA, with a smooth, low-energy surface, benefits from light sanding (e.g., 220-grit) to increase roughness and improve bonding. Acrylic paints, with a viscosity of ~100–200 cP, penetrate micro-abrasions, forming a durable coating upon drying via solvent evaporation. Markers use capillary action to deposit ink, while 3D pens melt filament (e.g., PLA at 200°C) into recesses, solidifying via rapid cooling.
Practical Workflow
- Print the Model: Create a model with text (e.g., 2 mm raised “LAB”). Print in a base color (e.g., white) using standard settings.
- Prepare Surface: Sand the text area lightly to enhance adhesion.
- Apply Color: Use acrylic paint with a fine brush, permanent markers, or a 3D pen to color the text (e.g., blue). For paint, apply thin layers, drying each for 30 minutes.
- Seal (Optional): Apply a clear coat (e.g., polyurethane) to protect the paint.
Advantages and Limitations
Manual painting is inexpensive and versatile, requiring no printer modifications. However, it lacks the precision of in-process methods and is time-consuming for large batches. Paint durability varies with environmental exposure.
Comparative Analysis
| Aspect | Manual Painting |
|---|---|
| Equipment Needed | Basic printer, paints/markers |
| Cost | Low (paint costs) |
| Complexity | Low (manual skill) |
| Color Precision | Moderate (user-dependent) |
| Time | High (manual application) |
| Best Use Case | Prototypes, artistic prints |
Advanced Technologies: Binder Jetting and PolyJet
Overview and Mechanism
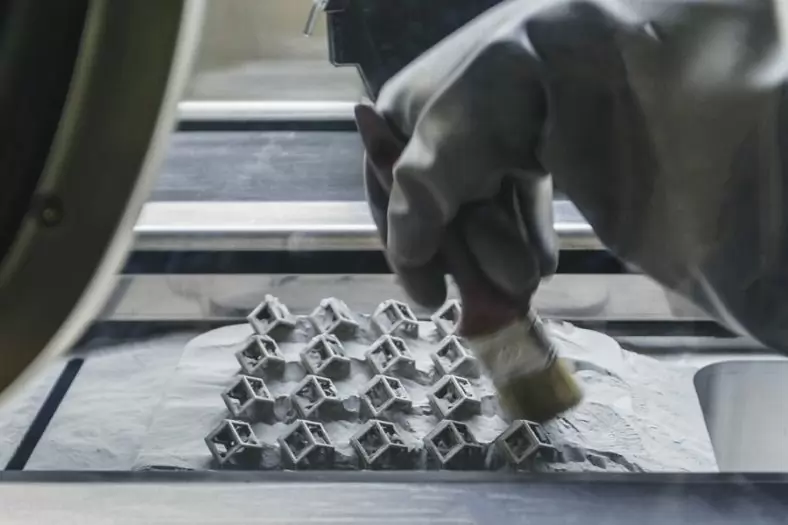
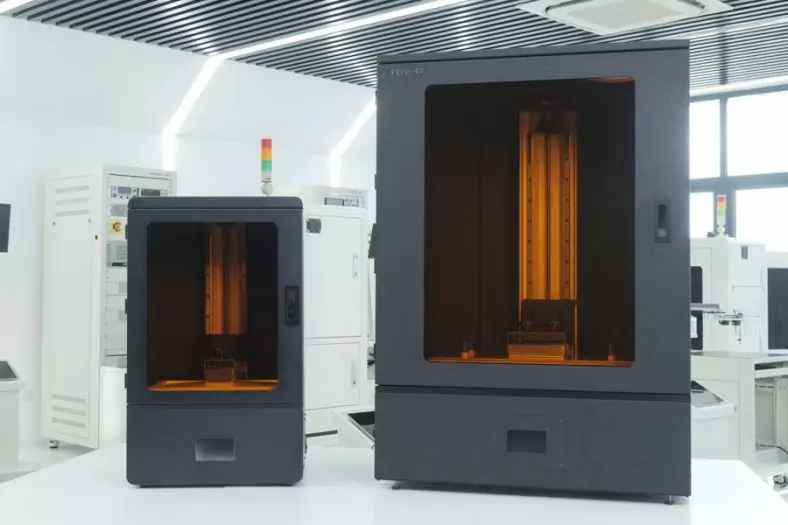
Binder jetting and PolyJet are industrial 3D printing technologies capable of full-color printing, including text. Binder jetting (e.g., 3D Systems ProJet) deposits colored binder onto a powder bed, while PolyJet (e.g., Stratasys J750) jets photopolymer resins in multiple colors, curing them with UV light.
Scientific Principles
Binder jetting fuses powder particles (e.g., gypsum) with a liquid binder containing pigment, achieving resolutions of ~100 µm. Color is applied voxel-by-voxel, governed by inkjet precision and powder particle size. PolyJet uses piezoelectric print heads to deposit resin droplets (~14 pL), blending cyan, magenta, yellow, and black (CMYK) to produce over 500,000 colors. The Young-Laplace equation governs droplet formation, balancing surface tension and pressure.
Practical Workflow
- Design: Create a model with colored text in software supporting color (e.g., Blender with 3MF export).
- Print: Use a binder jetting or PolyJet printer, uploading the file and selecting materials.
- Finish: Remove excess powder (binder jetting) or support material (PolyJet).
Advantages and Limitations
These methods offer unparalleled color accuracy and detail but require expensive equipment ($50,000+ USD) and are less accessible to hobbyists.
Comparative Analysis
| Aspect | Binder Jetting/PolyJet |
|---|---|
| Equipment Needed | Industrial printer |
| Cost | Very High (equipment) |
| Complexity | High (expertise needed) |
| Color Precision | Very High (full-color) |
| Time | Low (automated) |
| Best Use Case | Professional, detailed models |
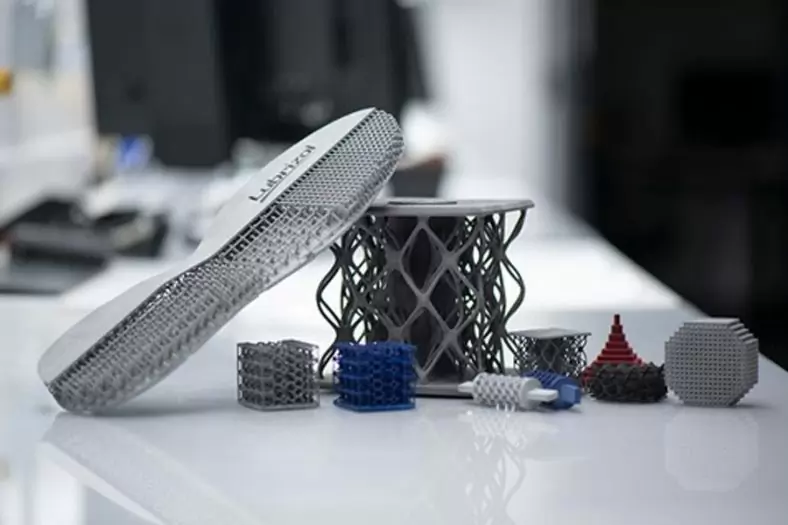
Materials Considerations
The choice of filament impacts color quality and print success. PLA, with low shrinkage and vibrant colors, is ideal for beginners. ABS offers durability but requires a heated enclosure toprevent warping. PETG balances strength and ease of use. Pigment concentration in filament affects opacity—higher concentrations yield bolder text but may increase brittleness.
Optimizing Text Legibility
Legibility depends on font size, style, and contrast. A minimum text height of 2 mm (10 layers at 0.2 mm) ensures readability. Sans-serif fonts (e.g., Arial) reduce edge complexity, while high contrast (e.g., black on white) enhances visibility, as quantified by the Weber contrast ratio: C=(Ltext−Lbackground)/Lbackground C = (L_{\text{text}} – L_{\text{background}}) / L_{\text{background}} C=(Ltext−Lbackground)/Lbackground.

Conclusion
Adding different colored text to 3D prints combines art and science, offering multiple pathways depending on equipment, budget, and desired outcome. Filament swapping suits hobbyists, multi-extruder printing excels for complexity, inlays provide sharp contrast, manual painting offers flexibility, and advanced technologies deliver professional results. By understanding the mechanics, materials, and design principles, users can achieve stunning, functional prints tailored to their needs.


The Detail Of BE-CU 3D Printing Company
BE-CU.COM offers online 3D printing services for rapid prototyping and production in volume. Our clients are across a wide variety of industries and companies, including automotive, construction, aerospace, defense, electronics, machinery, industrial automation, medical, healthcare, consumer production, oil & gas, etc. Accelerate your product development and manufacturing process with our industry-leading metal & plastic 3D printing service and 3D printed parts. We’ll find the best 3D printing solution for your projects, to lower your cost and shorten the lead time based on your needs, while maintaining the quality. From 3D prototyping to end-use parts production, multiple materials are available for custom 3D printing parts. Need an alternative to the traditional solution? Submit your 3D CAD file to get an online quotation quickly. Our 3D printing service ensures accuracy and speed. We can help you choose the most appropriate technology and material to match your applications or request.
-
FDM 3D Printing Ultra-High Voltage Strong Electrical Connector
-
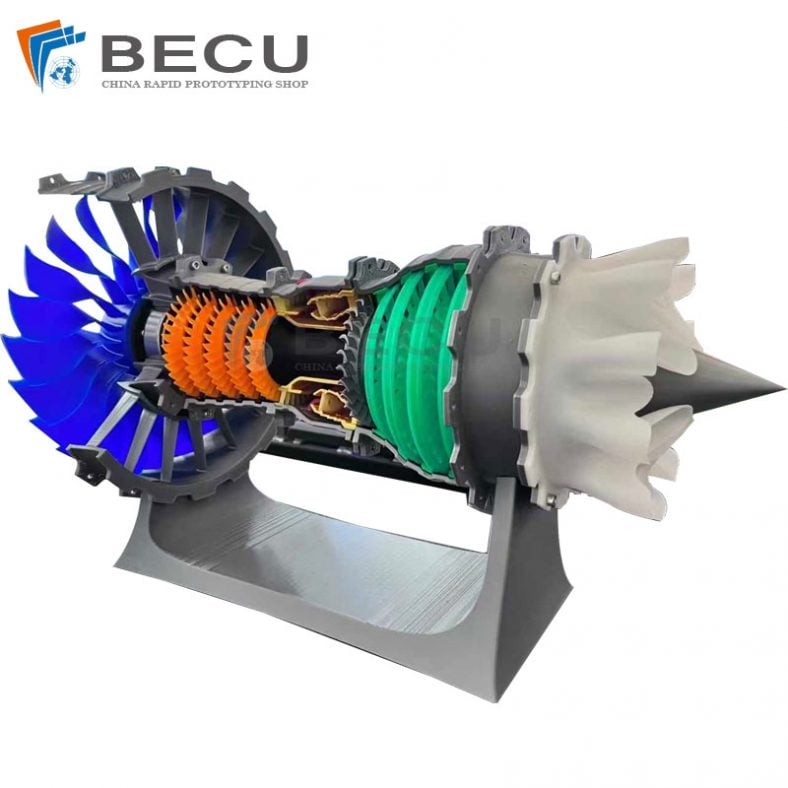
3D Printed Jet Engine Model
-
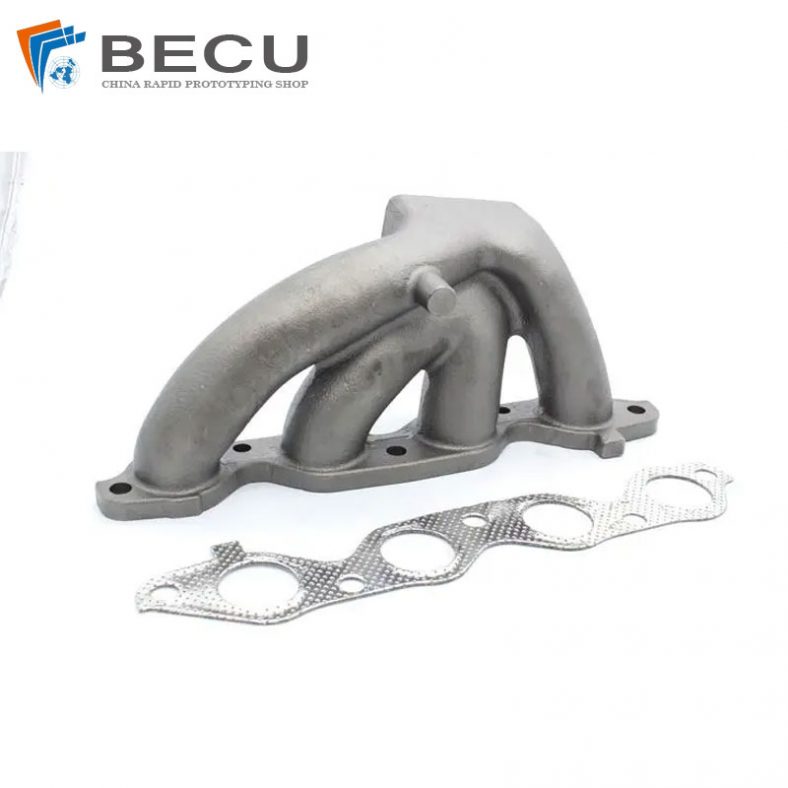
3D Printed Inconel Exhaust Manifold
-
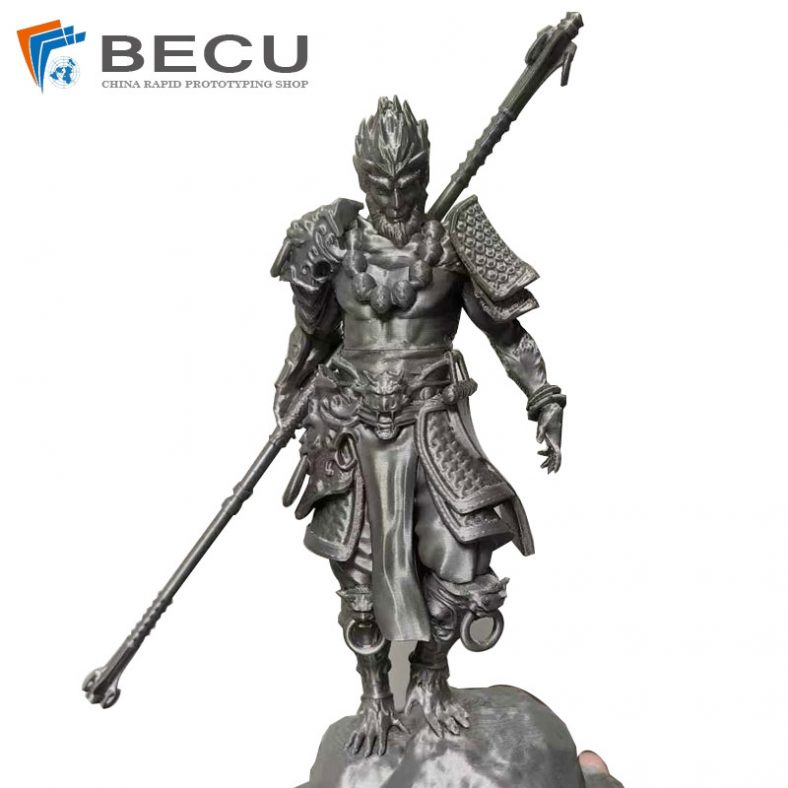
3D Printed Black Myth: Wukong Model
-
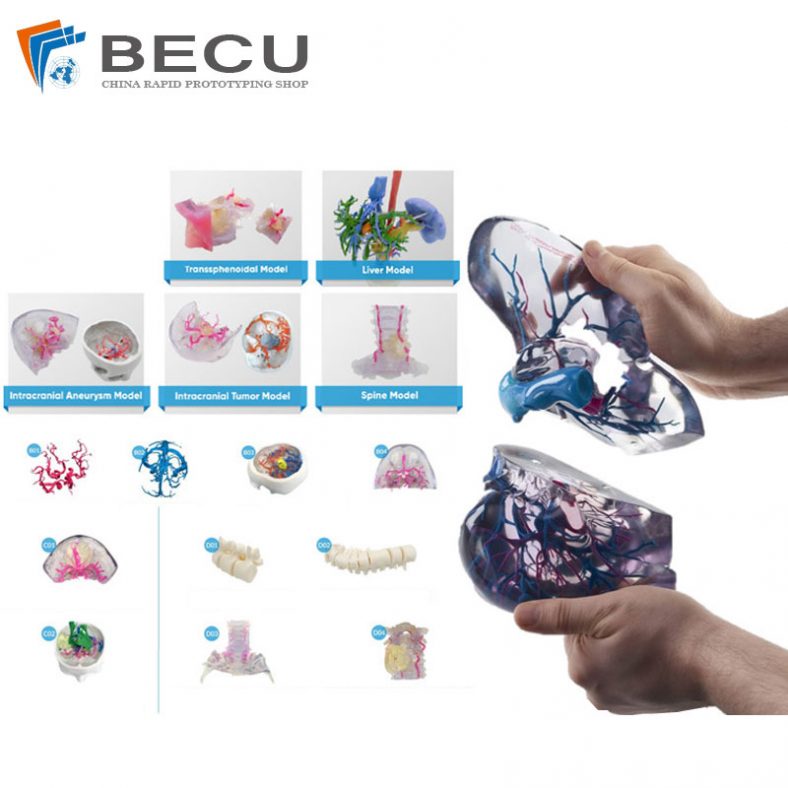
Omni-Directional Surgical Planning Medical Models
-
3D Printing Pool Pressure Cleaner Parts and Accessories
-
Nylon 3D Printed Size 5 Basketball
-
Black Nylon Medical Threaded Screw By MJF 3D Printing