
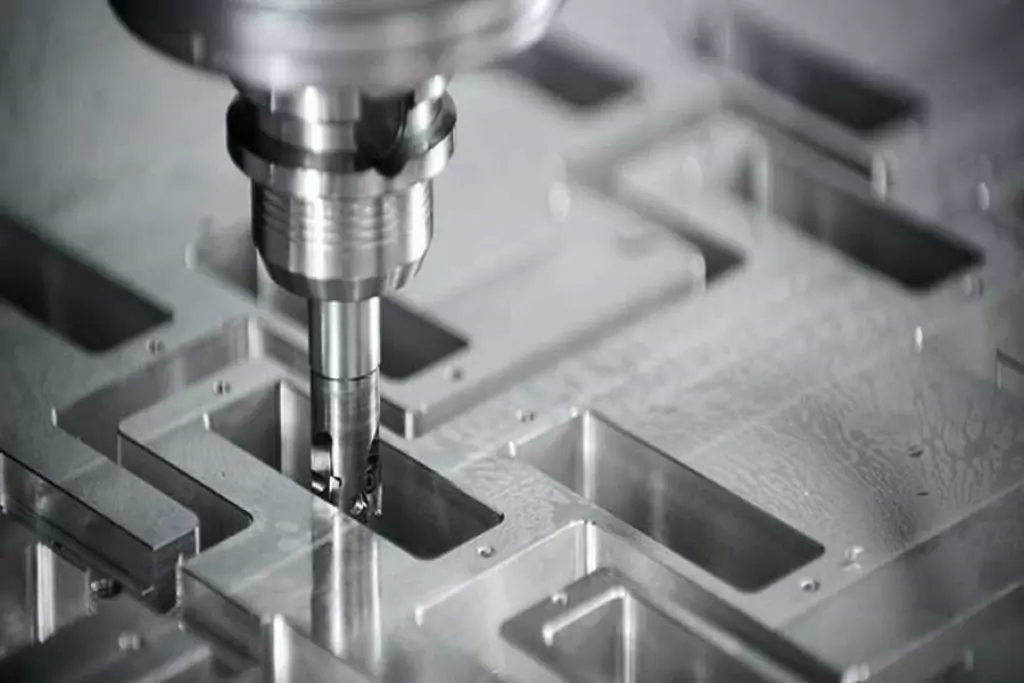
Turning simulations play a vital role in modern manufacturing processes. They allow engineers and machinists to optimize cutting parameters and ensure the highest quality and precision in machining operations. One crucial aspect of turning simulations is the adjustment of the back rack angle, a parameter that directly impacts the tool’s performance and the final product’s quality. In this article, we will explore the intricacies of changing multiple back rack angles in turning simulations, providing you with a comprehensive guide to mastering this essential skill.
Understanding the Back Rack Angle
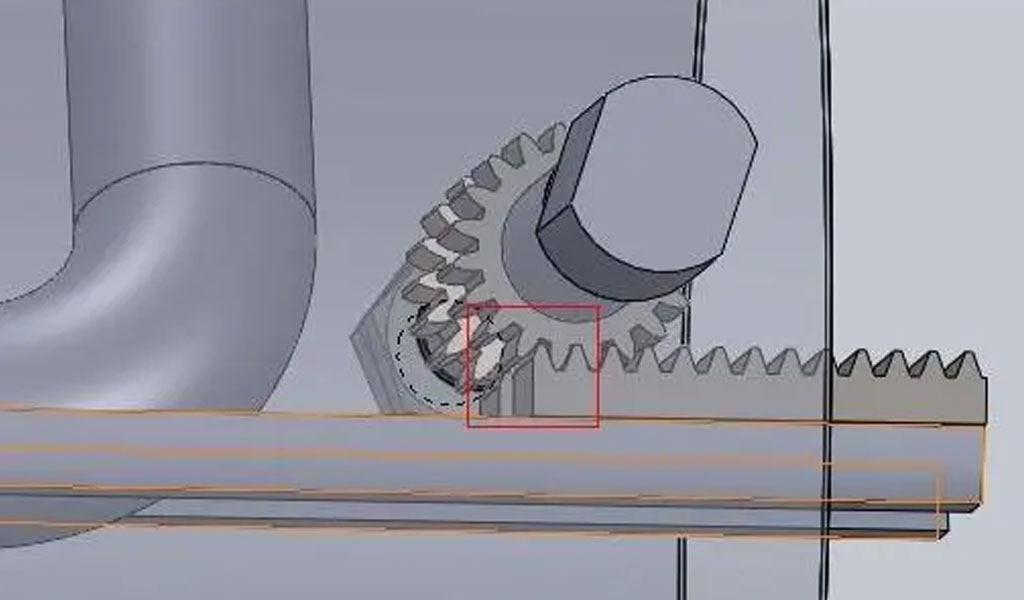
The back rack angle, often referred to as the “back rake angle,” is a crucial parameter in machining and turning processes. It is a feature of the cutting tool geometry and plays a significant role in determining how efficiently a tool removes material during machining operations. The back rack angle is essentially the angle formed between the top surface of the cutting tool (the rake face) and a line parallel to the workpiece’s surface. Here’s a more detailed explanation:
Rake Face: The rake face is the side of the cutting tool that faces the workpiece material during machining. It’s the surface responsible for actually cutting into the material.
Back Rack Angle: The back rack angle is the angle formed between the rake face and a line parallel to the workpiece’s surface. This angle is measured in degrees. It can be positive, negative, or zero, depending on the orientation of the rake face.
- A positive back rack angle (also called a positive back rake angle) means the rake face slopes away from the cutting edge towards the back of the tool. This configuration is typically used for cutting materials that are soft and ductile.
- A negative back rack angle (negative back rake angle) indicates the rake face slopes towards the cutting edge. This configuration is used for hard and brittle materials.
- A back rack angle of zero implies that the rake face is perfectly parallel to the workpiece’s surface.
The choice of the back rack angle significantly influences the cutting tool’s performance, including its cutting forces, cutting efficiency, and the quality of the machined surface. It is an important factor that machinists consider when selecting the appropriate tool for a specific machining operation, taking into account factors such as the material being cut, cutting speed, and feed rate. Adjusting the back rack angle is part of optimizing the tool for different machining applications and achieving desired outcomes.
The back rack angle refers to the inclination of the tool’s cutting edge relative to the workpiece material’s surface. It plays a significant role in determining the tool’s engagement with the material, chip formation, and overall cutting efficiency. Properly adjusting the back rack angle can result in reduced tool wear, improved surface finish, and enhanced machining performance.
Navigating the Software:
Selecting an appropriate simulation software is paramount. Opt for a platform that offers a user-friendly interface and robust capabilities for handling complex simulations. Familiarize yourself with the software’s tools and functions, paying special attention to the options for modifying back rack angles. Understand the various parameters that can be adjusted to achieve the desired results and explore the software’s documentation thoroughly to harness its full potential.
Modifying Multiple Back Rack Angles:
When dealing with multiple back rack angles, it is essential to approach the process systematically. Begin by identifying the specific components or sections of the material where adjustments are required. Analyze the impact of altering each back rack angle on the overall performance and quality of the machined part. Develop a coherent plan of action that outlines the sequence of modifications and the corresponding changes in the simulation parameters.
Calibrating the Simulation:
Once the necessary adjustments have been made to the back rack angles, it is crucial to recalibrate the simulation to ensure accuracy and reliability. Conduct a series of trial runs to validate the modified parameters and assess their effect on the material’s behavior. Pay close attention to factors such as surface finish, tool wear, and cutting forces to gauge the efficacy of the changes and make any further refinements as needed.
Iterative Refinement and Optimization:
Turning simulations often require a process of iterative refinement and optimization to achieve the desired machining outcomes. Continuously monitor the simulation results and compare them with the predefined performance metrics. Fine-tune the back rack angles iteratively, taking into account any unforeseen variables or anomalies that may influence the machining process. Employ advanced optimization techniques to streamline the simulation and enhance the overall efficiency of the turning operation.
Utilizing Advanced Techniques:
To elevate the simulation process to a higher level, consider integrating advanced techniques such as finite element analysis (FEA) and computational fluid dynamics (CFD) to gain deeper insights into the material’s behavior and the thermal dynamics of the machining process. Leverage these techniques to identify potential areas for further optimization and to address any complex challenges that may arise during the simulation.
Changing Multiple Back Rack Angles
To change multiple back rack angles in a turning simulation effectively, follow these steps:
- Select the Right Software: Utilize a reliable turning simulation software. Software tools like SolidWorks, Mastercam, or NX CAM are widely used in the industry. Ensure you have the latest version for the most accurate results.
- Define Your Workpiece: Begin by defining your workpiece, including the material, dimensions, and geometrical features.
- Choose Your Tool: Select the cutting tool that you intend to use in your turning operation. The tool’s geometry, rake angles, and clearance angles are critical parameters that affect back rack angles.
- Set Cutting Parameters: Specify the cutting parameters, such as cutting speed, feed rate, and depth of cut. These parameters influence the back rack angle and must be considered when making adjustments.
- Analyze Initial Back Rack Angles: Run an initial simulation with the default back rack angles provided by the software. This step provides a baseline for comparison and helps identify areas for improvement.
- Modify Back Rack Angles: Access the toolpath or tool setup options in your simulation software to adjust the back rack angles. Depending on the software, you may be able to change these angles individually for roughing and finishing operations.
- Optimize Toolpath: Rerun the simulation with the modified back rack angles. Pay close attention to tool engagement, chip formation, and cutting forces. Make adjustments as needed to achieve the desired results.
- Evaluate the Results: After several simulations and adjustments, carefully evaluate the results. Look for improvements in tool life, surface finish, and overall machining performance.
- Fine-Tune as Necessary: It may be necessary to fine-tune the back rack angles further to achieve optimal results. Iterate the process until you are satisfied with the simulation outcomes.
- Document Your Settings: Keep a record of the back rack angles and other cutting parameters that produced the best results. This documentation will be valuable for future projects and reference.
Conclusion
Mastering the art of adjusting multiple back rack angles in turning simulations is a valuable skill for any engineer or machinist. It can significantly enhance the efficiency and quality of machining operations, leading to reduced tool wear, improved surface finish, and overall cost savings. By following the steps outlined in this article and continually fine-tuning your approach, you can confidently optimize your turning simulations and achieve superior machining results.

The Detail Of BE-CU Cnc Machining Shop
BE-CU.COM – As an accomplished CNC machining Service Manufacturer and CNC shop, BE-CU Prototype has been specialized in OEM CNC lathing, custom CNC machining parts production and rapid CNC machining services China for over 35 years and always maintaining the highest standard in delivery speed and reliable quality of precision CNC manufacturing components. With the help of high-level technology and efficient equipment, as well as rigorous attitude, BE-CU passed the ISO9001:2015 quality certification, which supports the long-term development of CNC milling services, CNC turning services, CNC milling-turning, CNC drilling services, 3/4/5 axis machining, gear machining services, CNC machining China custom parts and service, small parts machining, etc.Our CNC machining products can be utilized in a broad range of industries. Contact us for email: [email protected]
-
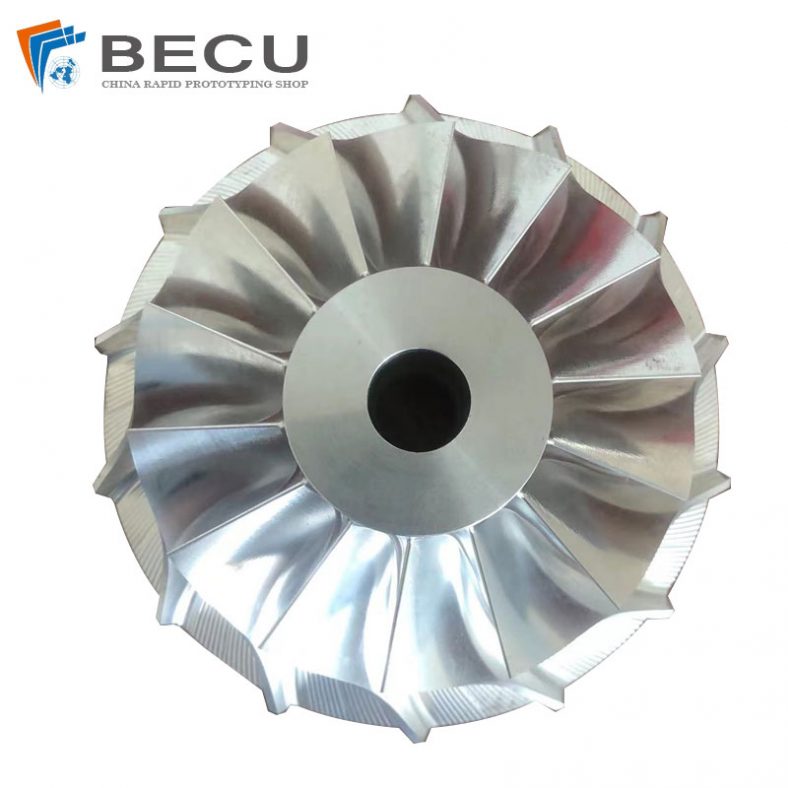
3-Way Centrifugal Compressor Closed Impeller By 5 Axis Machining
-
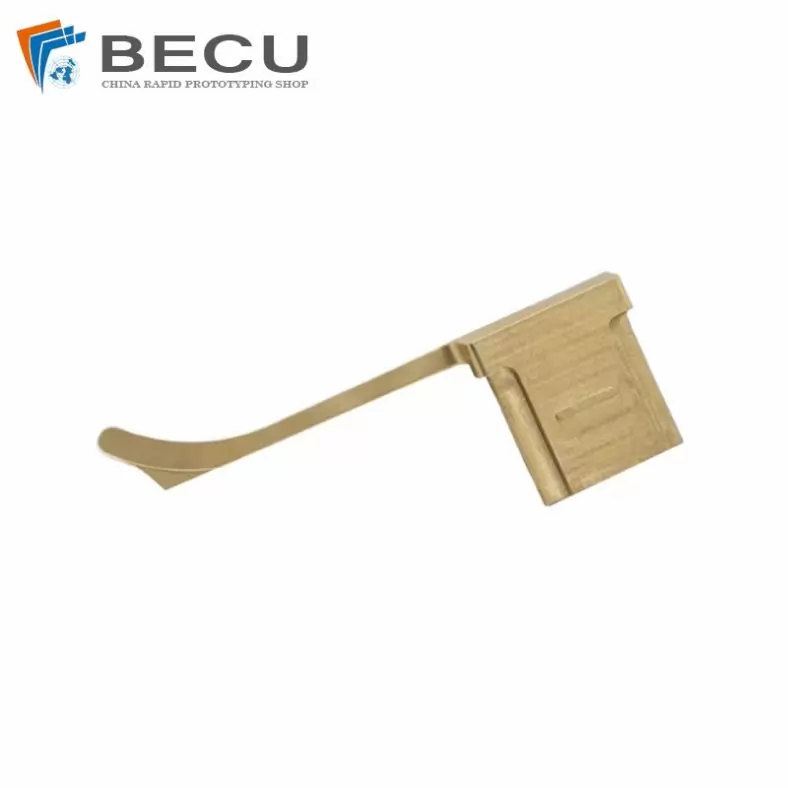
3/4/5 Axis Precision Milling Custom Vehicle Parts
-
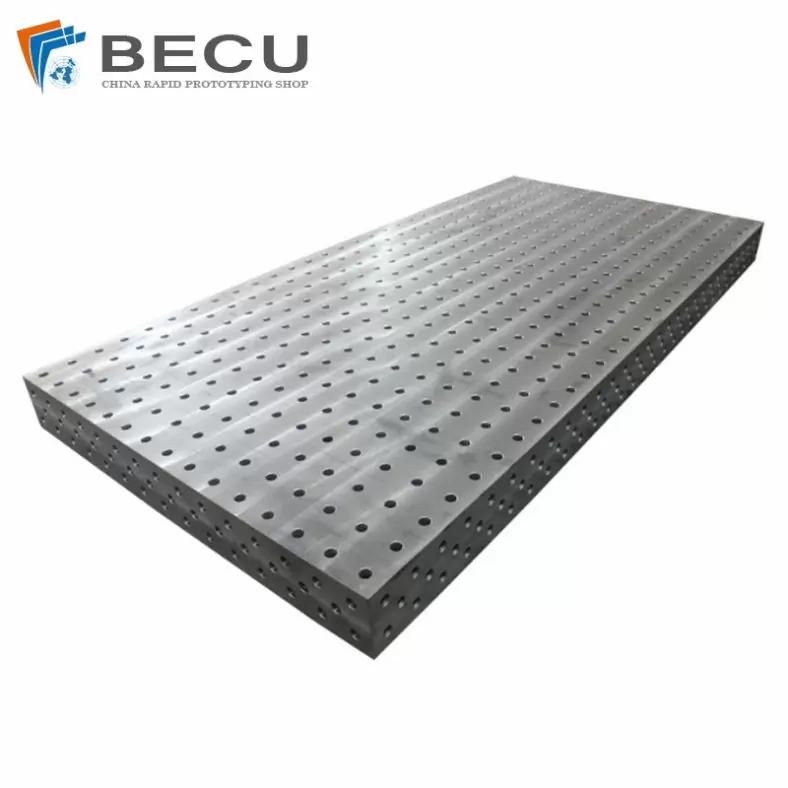
3D Flexible Welding Platform By Large Machining
-
3D Printed Inconel Exhaust Manifold
-
3D Printing And CNC Machining Custom Black PPS Valve
-
3D Printing Full Transparent Acrylic Lampshade Model
-
4 Axis CNC Machining Titanium Grade 5 Mobile Phone Buttons
-
4 Axis Machining Highly Transparent Acrylic LED Tunnel Light Lens