
3D printing has revolutionized the manufacturing industry by enabling the creation of complex and customized objects with ease. However, one of the challenges associated with 3D printing is the cost, particularly when printing large or intricate models. The cost of 3D printing is influenced by various factors, including material usage, print time, and support structures. To make 3D printing more accessible and cost-effective, one effective strategy is to cut your 3D model. In this article, we will explore the benefits of slicing or cutting 3D models and provide a comprehensive guide on how to reduce 3D printing costs effectively.
Learn About 3D Model Slicing Importance
Understanding the importance of 3D model slicing is fundamental to the 3D printing process. Slicing is a critical step that transforms a 3D model into printable layers, allowing the 3D printer to create physical objects layer by layer.
This process plays a pivotal role in ensuring the accuracy, efficiency, and quality of the 3D printing process. Let’s delve into the key aspects that highlight the importance of 3D model slicing:
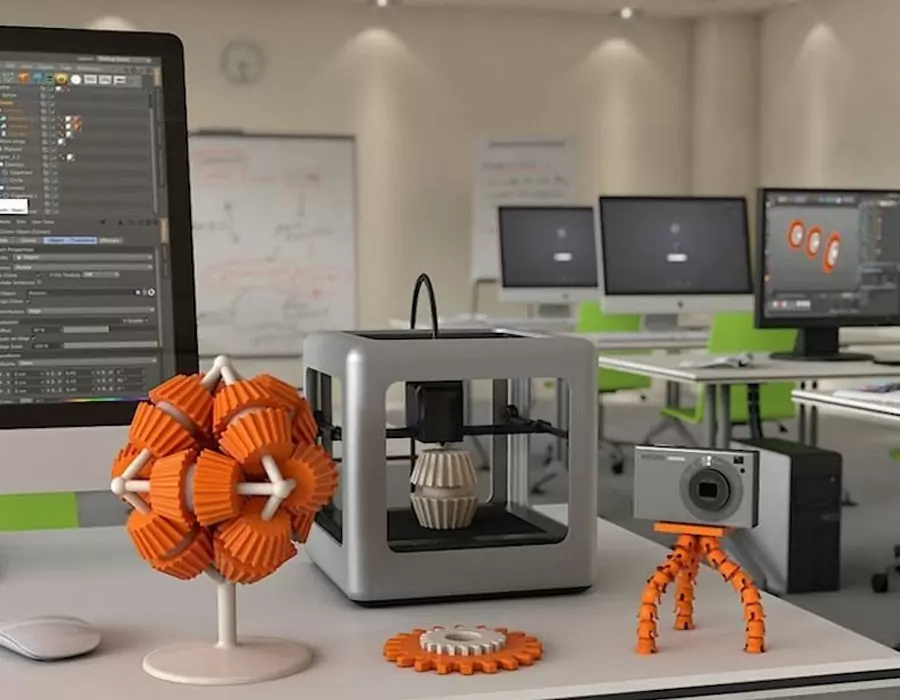
Preparation for Printing
Before a 3D model can be printed, it needs to be converted into a format that the 3D printer can understand. Slicing software breaks down the 3D model into numerous horizontal layers, essentially creating a “sliced” version of the object. Each layer corresponds to the specific path that the printer’s nozzle will follow during printing. This preparation is crucial for the printer to accurately reproduce the model in a step-by-step manner.
Controlling Print Settings
Slicing allows users to control various print settings, such as layer height, infill density, print speed, and temperature. These settings impact the final print quality, strength, and printing time. By adjusting these parameters, users can optimize the printing process based on their specific requirements, whether it’s for prototyping, functional parts, or artistic creations.
Achieving Different Print Qualities
Slicing enables the ability to achieve different levels of print quality. For instance, a model can be sliced with finer layer heights for smoother surfaces and greater detail, or with coarser layer heights for faster prints with reduced detail. This flexibility allows users to strike a balance between print quality and printing time, depending on the intended application of the 3D-printed object.
Support Structure Generation
In 3D printing, some objects may have overhangs or unsupported areas that need additional support during printing. Slicing software can automatically generate support structures to provide stability to these overhangs. The ability to customize and control the placement and density of supports ensures minimal material wastage and ease of post-processing.
Optimizing Material Usage
3D Printing Slicer plays a significant role in optimizing material usage, which directly impacts the cost-effectiveness of 3D printing. By using infill patterns and densities, users can control the amount of material used within the 3D printed object, reducing material waste and overall printing costs.
Reducing Print Time
Slicing affects print time, as the choice of layer height and print speed determines how quickly each layer is printed. Adjusting these settings appropriately can significantly reduce the overall print time, making the printing process more time-efficient and allowing for faster prototyping or production.
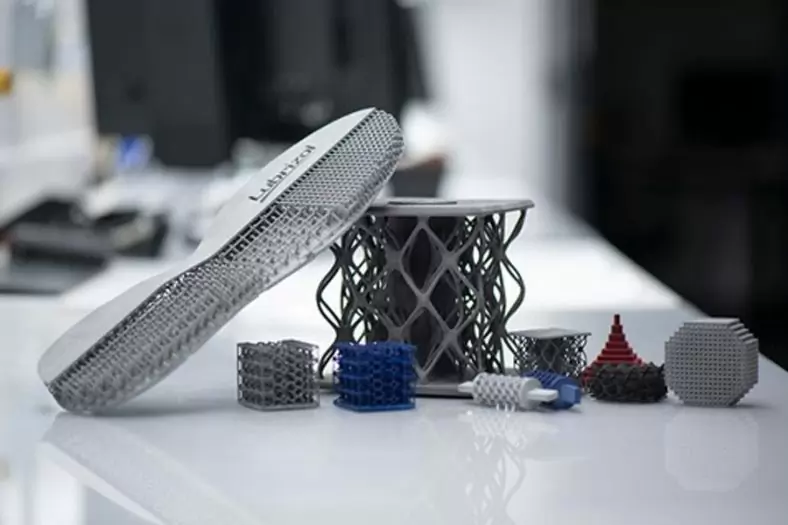
Facilitating Complex Designs
Slicing software can handle complex 3D models with intricate geometries, making it possible to print objects that may otherwise be difficult or impossible to create using traditional manufacturing methods. This ability to print complex designs opens up new possibilities for innovation in various industries, from aerospace to healthcare.
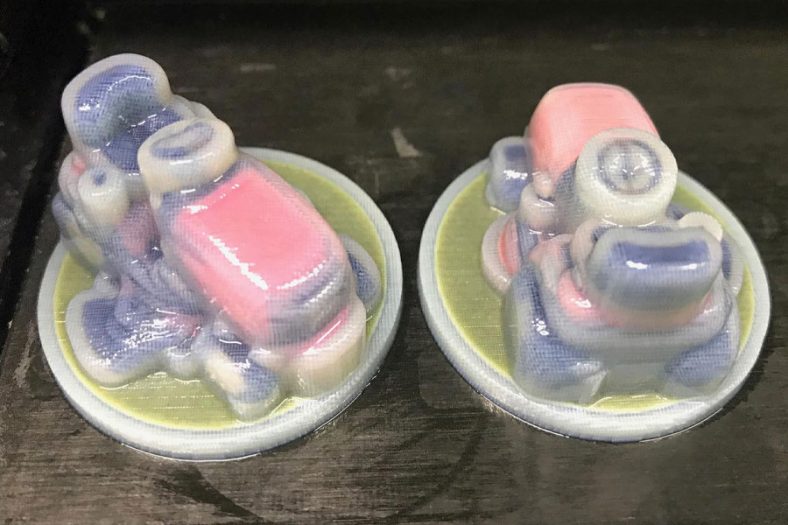
Multiple Object Printing
Slicing allows for printing multiple objects simultaneously on the same build platform. By efficiently arranging multiple objects within the build area, users can maximize the printer’s capacity and increase productivity.
The process of 3D model slicing is an indispensable part of 3D printing. It transforms digital designs into physical objects by preparing the model for layer-by-layer printing. The importance of 3D model slicing lies in its ability to control print settings, achieve different print qualities, optimize material usage, and reduce print time. Additionally, slicing facilitates the creation of complex designs and supports multiple object printing, enhancing the efficiency and versatility of 3D printing. By understanding the significance of 3D model slicing, users can harness the full potential of 3D printing technology and create functional prototypes, artistic creations, and innovative products with greater accuracy and cost-effectiveness.
Preparing Your 3D Model for Slicing
Preparing your 3D model for slicing is a crucial step in the 3D printing process to ensure a successful and accurate print. Proper preparation involves cleaning and repairing the 3D model, simplifying complex geometries, and dividing the model into printable parts if needed. Let’s explore the essential steps in preparing your 3D model for slicing:
Cleaning and Repairing the 3D Model:
Before slicing, it is essential to ensure that your 3D model is clean and free from errors or defects. Common issues include non-manifold geometry, flipped faces, or intersecting surfaces.
Use 3D modeling software or specialized repair tools to identify and fix any issues in the model. This ensures that the model is suitable for 3D printing and avoids potential problems during slicing and printing.
Simplifying Complex Geometries:
Complex geometries with intricate details may result in longer print times and higher material usage. Simplifying the design while retaining its essential features can make the printing process more efficient and cost-effective.
Identify areas of the model that can be simplified without compromising the overall design intent. Reducing unnecessary details can significantly improve print speed and material consumption.
Dividing the Model into Printable Parts:
If your 3D model is large or exceeds the build volume of your 3D printer, consider dividing it into smaller, printable parts. This is particularly useful when 3D printing objects for which assembly is feasible after printing.
Use slicing software to separate the model into sections that can be printed individually and later assembled to form the complete object. Ensure that the parts fit together accurately and that any alignment features are included in the design.
Checking Wall Thickness and Tolerance:
Ensure that the walls of your 3D model have sufficient thickness to provide the required structural integrity. Thin or fragile walls can lead to printing failures and a lack of stability in the final print.
Check the tolerance and clearance of moving parts, such as interlocking components, to ensure smooth operation after printing.
Choosing the Right File Format:
Select an appropriate file format for your 3D model that is compatible with your slicing software and 3D printer. Common file formats include STL, OBJ, and AMF.
Ensure that the model’s units and scale are correct to avoid issues with sizing during the slicing process.
Applying Print Settings:
Review and apply the necessary print settings for your 3D model in the slicing software. Adjust parameters such as layer height, print speed, infill density, and support generation to achieve the desired print quality and optimize printing time and material usage.
Orienting the Model for Printing:
Consider the orientation of your 3D model during slicing to minimize the need for support structures and achieve better print quality.
Orient overhangs and intricate features in a way that reduces the need for support material or facilitates easy removal of supports post-printing.
Properly preparing your 3D model for slicing is a crucial step in ensuring successful and cost-effective 3D printing. Cleaning and repairing the model, simplifying complex geometries, and dividing the model into printable parts (if necessary) are essential to avoid potential printing issues. Checking wall thickness, choosing the right file format, and applying appropriate print settings are also critical to achieve the desired print quality and optimize material usage and printing time. By following these steps and using slicing software effectively, you can prepare your 3D model for a smooth and efficient printing process, resulting in accurate and high-quality 3D printed objects.
Choosing the Right Slicing Software And Reducing Material Consumption
Choosing the right slicing software and reducing material consumption are essential steps in optimizing the 3D printing process for cost-effectiveness and efficient use of resources. The right slicing software can significantly impact the print quality and material usage, while optimizing material consumption can help minimize waste and overall printing costs. Let’s explore how to choose the right slicing software and effective ways to reduce material consumption during 3D printing:
Choosing the Right Slicing Software:
- Compatibility with Your 3D Printer:Ensure that the slicing software you choose is compatible with your 3D printer model. Different printers may require specific slicing software to generate the necessary G-code for printing.
- User Interface and Ease of Use:Look for slicing software with an intuitive user interface and easy-to-use features. A user-friendly interface will streamline the slicing process and make it accessible to users of all experience levels.
- Advanced Settings and Customization:Opt for slicing software that offers a wide range of advanced settings and customization options. This allows you to fine-tune print parameters, such as layer height, infill density, print speed, and support generation, to meet your specific requirements.
- Infill Patterns and Densities:Check if the slicing software provides a variety of infill patterns and densities. Different infill patterns can affect the strength and material usage of the 3D-printed object. Select the most appropriate infill pattern and density based on the object’s purpose and required mechanical properties.
- Support Generation and Removal:Evaluate the software’s support generation capabilities, as well as its ease of support removal. Efficient support structures can reduce material waste and post-processing efforts.
- Update and Support:Choose slicing software that is regularly updated and supported by the developers. Regular updates ensure compatibility with new 3D printer models and improvements in functionality.
Reducing Material Consumption:
- Optimizing Infill Density:Adjust the infill density in the slicing software to find the right balance between structural integrity and material usage. Lower infill densities will result in less material consumption.
- Using Sparse Infill Patterns:Select sparse infill patterns, such as honeycomb or gyroid, to reduce material usage while maintaining sufficient strength for the intended application.
- Variable Infill Density:Consider using variable infill density, where the infill is denser in critical areas and lighter in less stressed regions. This approach can optimize material usage while ensuring the object’s overall strength.
- Thin Wall Settings:Adjust thin wall settings in the slicing software to reduce the thickness of non-structural walls. This can lead to substantial material savings in designs with intricate details.
- Avoiding Excessive Shells:Reduce the number of outer shells (perimeters) in the slicing settings for models that do not require a high level of surface smoothness. This can significantly decrease material usage.
- Using Low-Flow or Adaptive Layer Thickness:Some slicing software offers features like low-flow or adaptive layer thickness, where the layer height is adjusted based on the geometry of the model. This can save material by printing thicker layers in flat regions and finer layers in complex areas.
- Printing Multiple Objects Simultaneously:Utilize the full build volume of your 3D printer by printing multiple objects simultaneously. This reduces material wastage and increases printing efficiency.
Choosing the right slicing software and implementing strategies to reduce material consumption are crucial for optimizing the 3D printing process. Select slicing software that is compatible with your 3D printer, user-friendly, and offers advanced customization options. Reduce material consumption by adjusting infill densities, using sparse infill patterns, optimizing thin wall settings, and exploring variable infill density options. By combining the right slicing software with effective material consumption techniques, you can achieve cost-effective and resource-efficient 3D printing service, producing high-quality objects while minimizing waste.
Reducing Print Time And Post-Processing Techniques for Cost Savings
Reducing print time and implementing post-processing techniques are essential strategies for achieving cost savings in the 3D printing process. Print time directly affects production efficiency, while post-processing techniques can minimize the need for additional labor and material, ultimately reducing overall costs. Let’s explore how to reduce print time and implement post-processing techniques effectively:
Reducing Print Time:
- Layer Height and Print Speed:Adjust the layer height in the slicing software to find the optimal balance between print quality and speed. Thicker layers reduce the number of layers and consequently decrease print time, but may compromise surface finish. Increase print speed for less intricate parts, but be mindful of maintaining print quality.
- Infill Density and Patterns:Lower infill densities can significantly reduce print time, especially for non-structural parts. Use lower infill densities in areas where high strength is not required.Choose faster infill patterns like rectilinear or grid instead of slower patterns like gyroid or concentric.
- Shell Thickness:Reduce the number of outer shells (perimeters) in the slicing settings for models that do not require high surface quality. Fewer perimeters will shorten print time while still maintaining reasonable strength.
- Printing Multiple Objects Simultaneously:Utilize the full build volume by printing multiple objects in a single print job. Printing multiple objects at once reduces idle time and increases overall printing efficiency.
- Orienting the Model for Printing:Optimize the orientation of the model to minimize the need for support structures and reduce print time. Avoid overhangs whenever possible.
- Adaptive Layer Height and Variable Print Speed:Some slicing software allows for adaptive layer height and variable print speed, adjusting the print parameters based on the model’s complexity. Utilize these features to optimize print time without compromising quality.
Post-Processing Techniques for Cost Savings:
- Automated Support Removal:Invest in 3D printers with soluble support materials or automated support removal features. These systems can significantly reduce the time and labor required for support removal, saving costs in post-processing.
- Smoothing Techniques:For aesthetic models, consider using smoothing techniques like vapor smoothing or acetone vapor baths for 3D printed ABS parts. These methods can improve surface finish and eliminate the need for labor-intensive sanding.
- Part Consolidation:Design parts to be assembled together after printing, reducing the need for printing multiple components separately. This can save time and material and facilitate faster post-processing.
- Tumbling and Polishing:For small parts, tumbling or vibratory finishing can be used to smooth surfaces and remove support marks. This method is cost-effective for high-volume production.
- Recycling and Reusing Material:Collect and recycle failed prints or excess support material for future use. Many 3D printers allow the recycling of certain materials, which can help reduce material costs over time.
- Incorporating Snap-Fit Designs:Use snap-fit designs when assembling parts to eliminate the need for adhesives or additional hardware. This reduces post-processing steps and saves assembly time.
Reducing print time and implementing post-processing techniques are vital for achieving cost savings in 3D printing. By optimizing slicing settings, choosing suitable infill patterns, and printing multiple objects simultaneously, you can significantly reduce print time and material usage. Implementing automated support removal, smoothing techniques, and part consolidation in post-processing can streamline the finishing process, ultimately reducing labor costs and material waste. By adopting these strategies, businesses can enhance their 3D printing efficiency, lower production costs, and improve the overall profitability of their additive manufacturing operations.
Reducing Plastic,Resin,Metal 3D printing costs through model slicing and optimization is a valuable strategy for making 3D printing more accessible and cost-effective. By following the guidelines and techniques outlined in this comprehensive
Now all you have to do is simply upload your files to Be-Cu and we’ll take care of the rest!


The Detail Of BE-CU 3D Printing Company
BE-CU.COM offers online 3D printing services for rapid prototyping and production in volume. Our clients are across a wide variety of industries and companies, including automotive, construction, aerospace, defense, electronics, machinery, industrial automation, medical, healthcare, consumer production, oil & gas, etc. Accelerate your product development and manufacturing process with our industry-leading metal & plastic 3D printing service and 3D printed parts. We’ll find the best 3D printing solution for your projects, to lower your cost and shorten the lead time based on your needs, while maintaining the quality. From 3D prototyping to end-use parts production, multiple materials are available for custom 3D printing parts. Need an alternative to the traditional solution? Submit your 3D CAD file to get an online quotation quickly. Our 3D printing service ensures accuracy and speed. We can help you choose the most appropriate technology and material to match your applications or request.
-
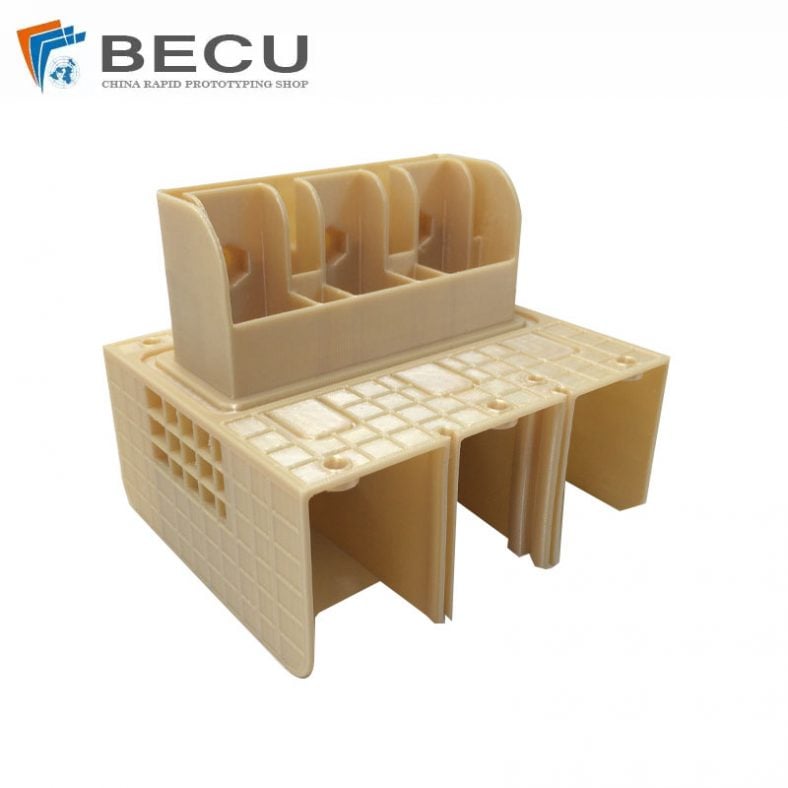
FDM 3D Printing Ultra-High Voltage Strong Electrical Connector
-
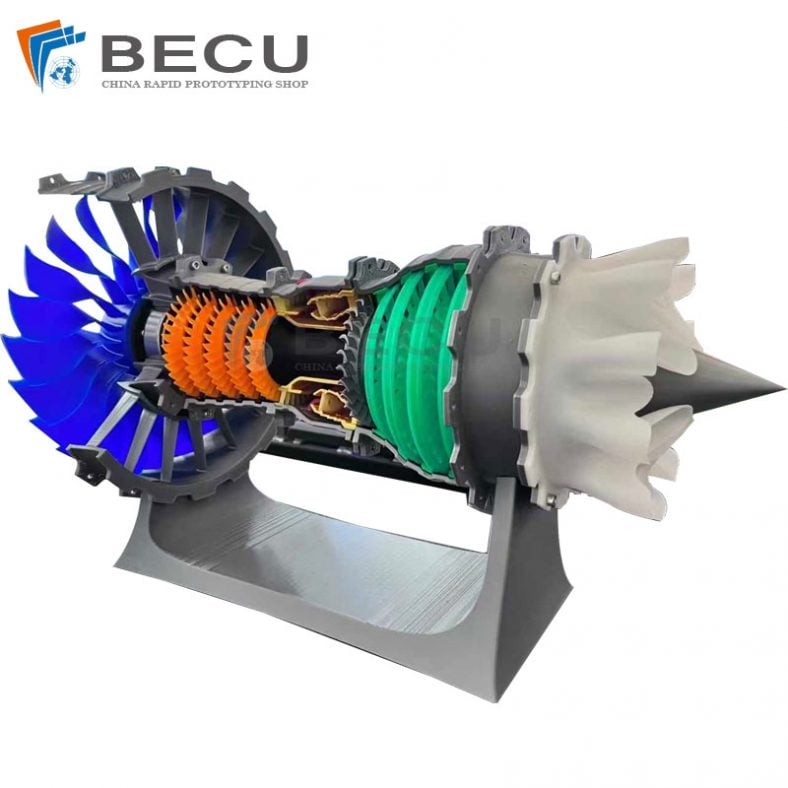
3D Printed Jet Engine Model
-
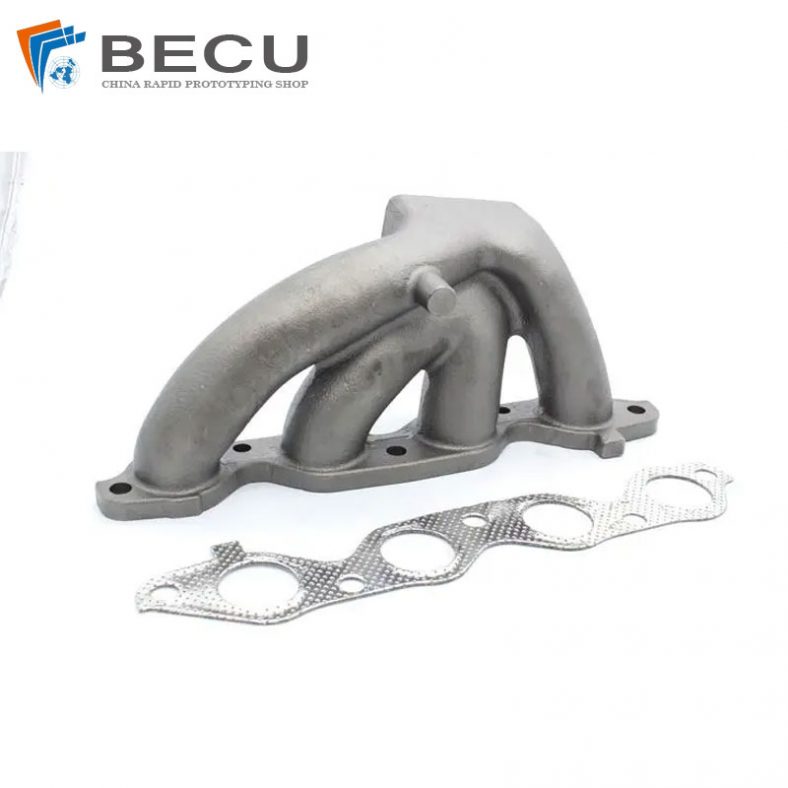
3D Printed Inconel Exhaust Manifold
-
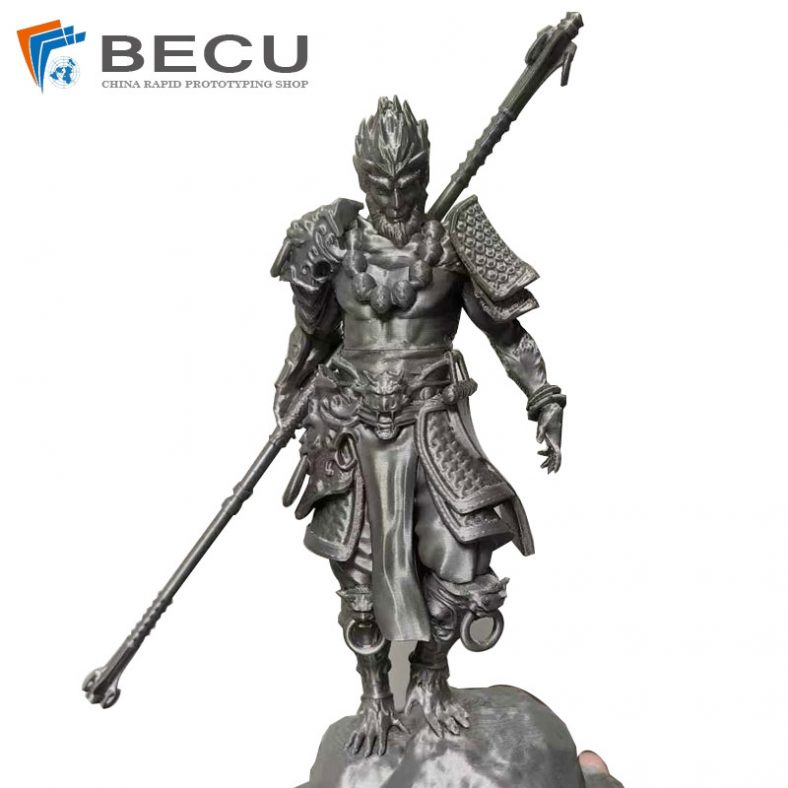
3D Printed Black Myth: Wukong Model
-
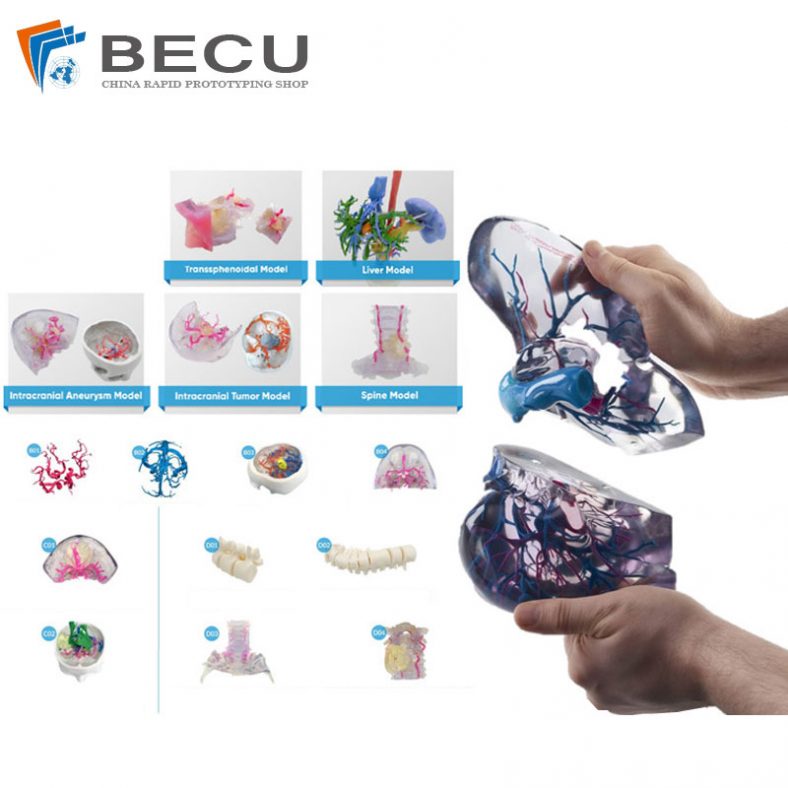
Omni-Directional Surgical Planning Medical Models
-
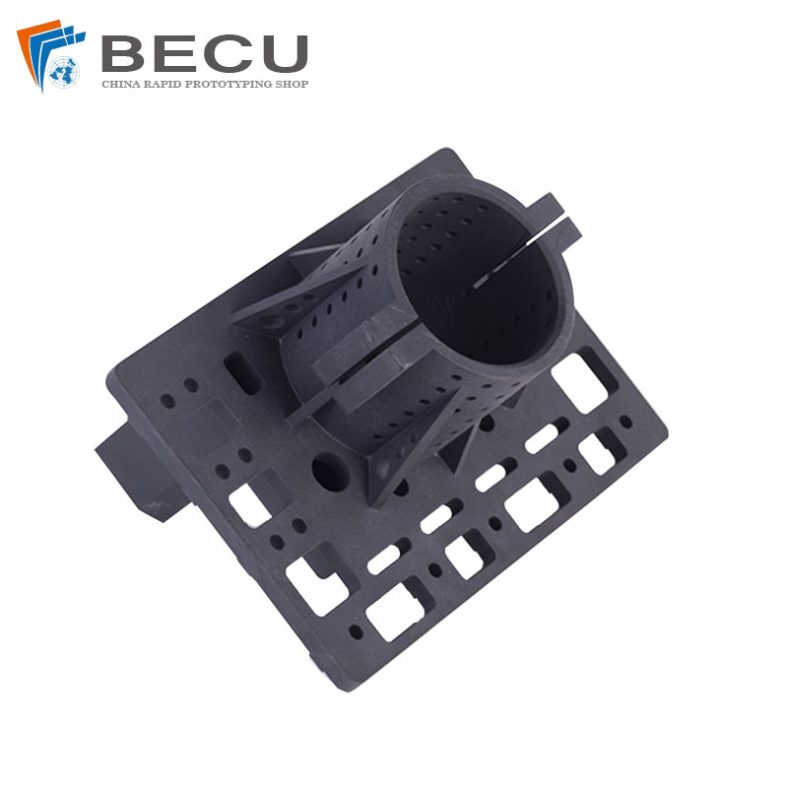
3D Printing Pool Pressure Cleaner Parts and Accessories
-
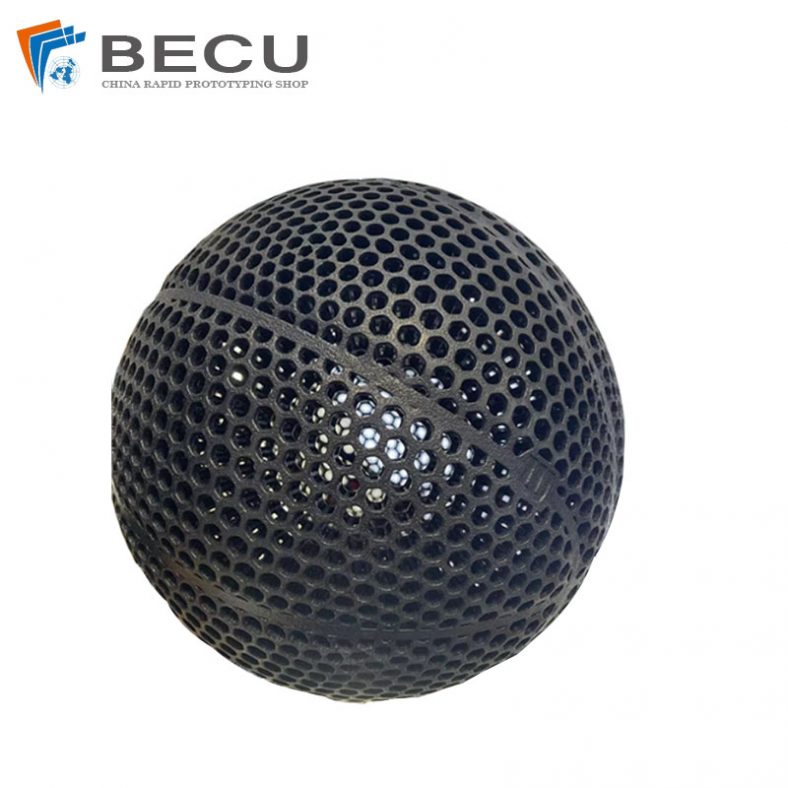
Nylon 3D Printed Size 5 Basketball
-
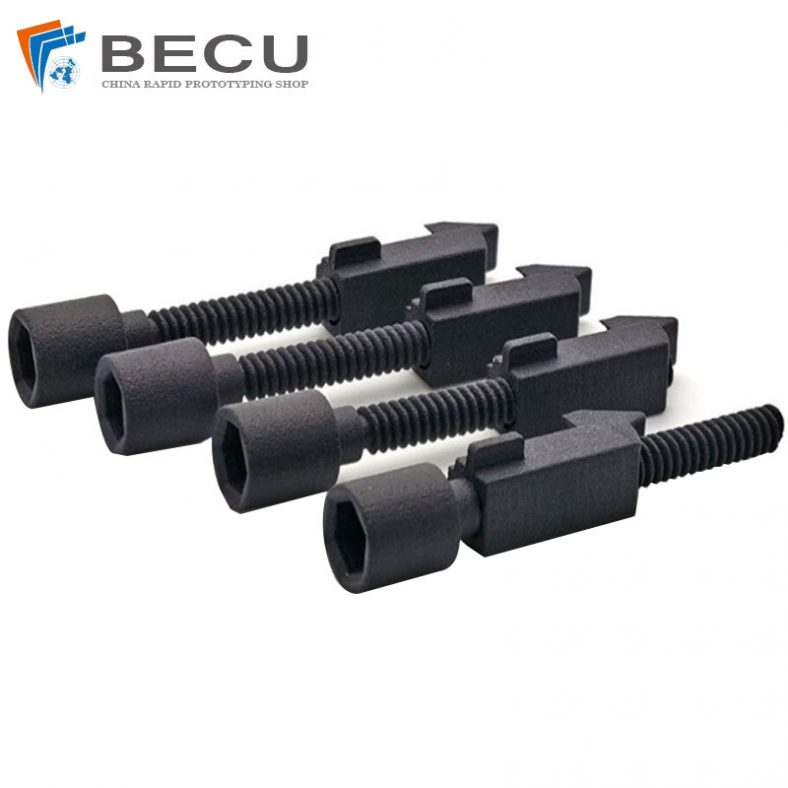
Black Nylon Medical Threaded Screw By MJF 3D Printing