In the world of product development, prototyping is a crucial step that can make or break the success of a project. Prototypes allow designers and engineers to visualize their concepts, test functionality, and identify potential flaws before moving on to mass production. Among the various materials available for prototyping, plastic has gained significant popularity due to its versatility, affordability, and ease of use. In this comprehensive guide, we will delve into the step-by-step process of creating the perfect plastic prototype.
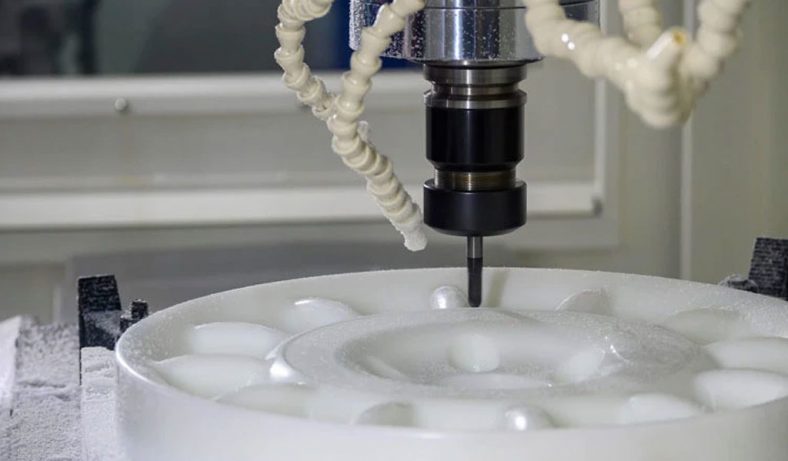
Understanding the Importance of Plastic Prototyping
Prototyping serves as a critical bridge between conceptualization and production. Creating a plastic prototype offers a tangible representation of the envisioned product, enabling designers and stakeholders to assess its aesthetics, functionality, and overall feasibility. Additionally, prototypes allow for early detection of design flaws, potentially saving time and resources in the long run.
Be-Cu is the perfect partner for manufacturing your perfect plastic prototype. And our innovative digital manufacturing ecosystem can scale from your plastic prototypes to scaled production, with industry-leading speeds every step of the way.
Which Type Of Prototype Do I Need?
Plastic rapid prototyping is the process of creating physical models or representations of a product using plastic materials. These prototypes allow designers, engineers, and stakeholders to assess the feasibility, functionality, and design aspects of a product before moving on to mass production. Plastic prototypes come in various forms, each serving a specific purpose in the product development cycle. The choice of prototype type depends on factors such as the project’s goals, complexity, timeline, and budget. Here are some common types of plastic prototypes and when they are most suitable:
Conceptual Prototype:
- Purpose: To visualize and communicate the basic concept or idea.
- Characteristics: Often simple and rudimentary, focusing on overall shape and design.
- Use Case: Ideal for initial design discussions, brainstorming sessions, and concept validation.
Functional Prototype:
- Purpose: To test and demonstrate the functionality of the product.
- Characteristics: More detailed than a conceptual prototype, with functional features and mechanisms.
- Use Case: Used to verify that the product works as intended and to identify potential design flaws.
Proof of Concept Prototype:
- Purpose: To demonstrate the feasibility of a novel idea or technology.
- Characteristics: Focuses on showcasing a specific technological aspect or innovation.
- Use Case: Used to attract funding, gain interest from investors, and validate the viability of a new concept.
Aesthetic Prototype:
- Purpose: To showcase the visual appearance and aesthetics of the product.
- Characteristics: Emphasizes surface finish, texture, and color, with less emphasis on functionality.
- Use Case: Useful for marketing, presentations, and gauging the product’s visual appeal.
Form and Fit Prototype:
- Purpose: To ensure that components fit together and align properly.
- Characteristics: Focuses on the physical dimensions and interaction between parts.
- Use Case: Ensures that components assemble correctly and that the overall design is cohesive.
Working Prototype:
- Purpose: To create a functional version of the final product with limited features.
- Characteristics: Incorporates key functional elements while omitting non-essential features.
- Use Case: Allows for testing and validation of critical functionality while still in the development phase.
High-Fidelity Prototype:
- Purpose: To closely resemble the final product in terms of both form and function.
- Characteristics: Detailed and refined, often incorporating high-quality materials and finishes.
- Use Case: Used for user testing, market research, and pre-production validation.
Low-Volume Production Prototype:
- Purpose: To produce a limited number of prototypes that are as close as possible to the final product.
- Characteristics: Focuses on replicating the manufacturing process for small quantities.
- Use Case: Useful for pilot production runs, trade shows, and initial market testing.
The type of prototype you need depends on your project’s specific goals and requirements. Consider the following questions to help determine the appropriate prototype type:
- What is the primary objective of the prototype (functional testing, visual assessment, proof of concept, etc.)?
- How complex is the design and how many features need to be incorporated?
- Is the focus on functionality, aesthetics, or both?
- What is the available budget and timeline for creating the prototype?
- Will the prototype be used for user testing, investor presentations, or marketing purposes?
By carefully evaluating these factors, you can choose the right type of plastic prototype that best aligns with your project’s needs and goals.
Selecting the Right Plastic Material
Selecting the right plastic material is a pivotal decision in the prototyping process, as it directly impacts the performance, aesthetics, and overall success of the final product. The choice of material should align with the specific requirements of the prototype, such as mechanical properties, thermal stability, chemical compatibility, and visual appeal. Here are key considerations to keep in mind when selecting the appropriate plastic material for your prototype:
- Mechanical Properties: Consider the intended use of the prototype. Will it be subject to loads, impacts, or stress? Different plastics exhibit varying levels of tensile strength, impact resistance, and flexibility. For example, materials like ABS (Acrylonitrile Butadiene Styrene) and Nylon offer good mechanical properties suitable for functional prototypes.
- Thermal Characteristics: Evaluate the prototype’s exposure to temperature fluctuations or heat. Some plastics, like Polycarbonate and PEEK (Polyether Ether Ketone), possess excellent thermal stability, making them suitable for prototypes intended for high-temperature environments.
- Chemical Compatibility: If the prototype will come into contact with certain chemicals, solvents, or corrosive substances, choose a plastic that is chemically resistant. Materials like Polypropylene and PTFE (Polytetrafluoroethylene) are known for their excellent chemical resistance.
- Aesthetics and Finish: Depending on the visual presentation of the prototype, consider the material’s surface finish and transparency. Some plastics offer a smoother finish, while others can be easily polished or textured. Clear plastics like PMMA (Polymethyl Methacrylate) are suitable for transparent prototypes.
- Cost and Availability: Budget constraints are a practical consideration. While some high-performance plastics may be ideal, they can be expensive. Balancing performance with cost-effectiveness is crucial, especially in the prototyping phase.
- Manufacturability: Keep in mind the manufacturability of the chosen plastic material. Some materials are more challenging to mold or machine, which could affect the ease of creating the prototype. Ensure that the selected material aligns with the available prototyping techniques.
- Biocompatibility (if applicable): If the prototype will be used in medical or biomedical applications, ensure that the chosen plastic material is biocompatible and safe for contact with human tissues or fluids.
- Electrical Properties: If the prototype involves electronics or electrical components, consider the electrical properties of the plastic. Some plastics are insulators, while others have conductive properties.
Common plastic materials used for prototyping include:
- ABS (Acrylonitrile Butadiene Styrene): A versatile plastic known for its impact resistance and durability. It’s commonly used in functional prototypes, especially for consumer products.
- PLA (Polylactic Acid): Environmentally friendly and easy to work with, PLA is used for visual prototypes and conceptual models.
- Polypropylene: With good chemical resistance and low friction properties, polypropylene is suitable for prototypes involving fluid handling or moving parts.
- Nylon: Offers high strength, flexibility, and toughness. It’s suitable for functional prototypes, especially those requiring mechanical properties.
- Polycarbonate: Known for its optical clarity and impact resistance, polycarbonate is used in prototypes that require transparency and durability.
- PETG (Polyethylene Terephthalate Glycol): Combines the ease of printing with durability, making it suitable for visual prototypes and functional parts.
- PMMA (Polymethyl Methacrylate): Known as acrylic, it’s used when transparency and visual appeal are essential.
- PEEK (Polyether Ether Ketone): Ideal for high-temperature and high-stress applications due to its excellent mechanical and thermal properties.
- POM (Polyoxymethylene): Offers good dimensional stability and low friction, making it suitable for moving parts in prototypes.
- TPU (Thermoplastic Polyurethane): Known for its flexibility and elasticity, TPU is used for prototypes involving soft and rubber-like components.
Ultimately, the choice of plastic material should align with the prototype’s intended purpose, the specific technical requirements, and the available resources. By carefully evaluating these factors, you can select the right plastic material that sets the foundation for a successful and effective prototype.
How Do You Make A Plastic Prototype?
Creating a plastic prototype involves a series of steps that transform a design concept into a physical model. The process encompasses design, material selection, fabrication, testing, and refinement. Here’s a step-by-step guide on how to make a plastic prototype:
Conceptualize and Design:
Start by conceptualizing your product idea and creating a detailed design using Computer-Aided Design (CAD) software. Define dimensions, features, and functionality.
Material Selection:
Choose a plastic material that suits the prototype’s requirements in terms of mechanical properties, thermal stability, and aesthetics.
Select Prototyping Technique:
Choose a prototyping method based on factors like complexity, material, budget, and speed. Common techniques include 3D printing, CNC machining, and vacuum casting.
Prepare CAD File:
Refine your CAD design to ensure it’s ready for the selected prototyping technique. Account for manufacturing constraints and ensure proper file formats.
Prototyping Technique:
Plastic prototyping techniques encompass a variety of methods used to create physical models of products using plastic materials. Each technique has its advantages, limitations, and suitability for different types of prototypes. Here are some common plastic prototyping techniques:
3D Printing (Additive Manufacturing):
- Description: 3D printing builds objects layer by layer from a digital 3D model. It offers versatility in design and can create intricate geometries.
- Materials: PLA, ABS, PETG, Nylon, TPU, etc.
- Suitable for: Conceptual models, functional prototypes, complex geometries, custom designs.
- Advantages: Speed, complexity, low setup costs, minimal material wastage.
CNC Machining:
- Description: Computer Numerical Control (CNC) machining subtracts material from a solid block to create the desired shape. It’s highly accurate and suitable for more robust prototypes.
- Materials: ABS, acrylic, POM, polycarbonate, etc.
- Suitable for: Functional prototypes, parts with tight tolerances, low to mid-volume production.
- Advantages: High precision, wide material compatibility, suitable for a range of plastic materials.
Vacuum Casting:
- Description: Vacuum casting involves creating a silicone mold from a master model and then casting liquid plastic resin into the mold to replicate the prototype.
- Materials: Various casting resins with different properties.
- Suitable for: Small-batch production, pre-production prototypes, achieving detailed surface finishes.
- Advantages: Replication of fine details, suitable for small quantities, close-to-production appearance.
Injection Molding (Rapid Tooling):
- Description: Injection molding uses a mold to create plastic parts by injecting molten plastic into the mold cavity. Rapid tooling involves creating simpler molds for prototypes.
- Materials: Various thermoplastics.
- Suitable for: Pre-production testing, functional prototypes, parts with complex geometries.
- Advantages: Close-to-production quality, suitable for high-volume production, good material selection.
Sheet Lamination:
- Description: Sheet lamination involves stacking layers of plastic sheets and bonding them together using heat or adhesive. Layers are then cut into the desired shape.
- Materials: Sheets of thermoplastic material.
- Suitable for: Concept models, architectural prototypes, low-cost and low-resolution prototypes.
- Advantages: Low-cost, suitable for large models, easy to create full-color models.
Fused Deposition Modeling (FDM):
- Description: FDM is a type of 3D printing that extrudes molten plastic layer by layer. It’s commonly used for functional prototypes and models.
- Materials: PLA, ABS, PETG, etc.
- Suitable for: Concept models, functional prototypes, visual aids.
- Advantages: Cost-effective, user-friendly, readily available materials.
Stereolithography (SLA):
- Description: SLA uses a UV laser to solidify liquid resin layer by layer. It’s known for its high accuracy and surface finish.
- Materials: Photopolymer resins.
- Suitable for: High-detail prototypes, fine surface finish, intricate geometries.
- Advantages: High accuracy, excellent surface finish, suitable for detailed models.
The choice of plastic prototyping technique depends on factors such as the project’s requirements, budget, timeline, material properties, and desired level of detail. By understanding the strengths and limitations of each technique, you can select the one that best suits your specific needs and goals for creating plastic prototypes.
Post-Processing:
Depending on the technique used, post-processing may involve removing support structures, sanding, polishing, or other finishing touches to achieve the desired surface finish.
Functional Testing:
Test the prototype’s functionality to ensure that it meets your design goals. Assess its mechanical performance, fit, and other critical aspects.
Refinement and Iteration:
Based on the testing results, refine the design and make necessary adjustments. This iterative process may involve creating additional prototypes.
Validation:
Validate the prototype against project requirements and specifications. This step may involve user testing, performance analysis, and any necessary modifications.
Documentation:
Thoroughly document the prototyping process, including design changes, testing results, and insights gained during the iteration process. This documentation is valuable for future reference and communication.
Communication and Feedback:
Share the prototype with stakeholders, team members, or potential users to gather feedback and insights that can inform further improvements.
Finalize Design:
Once the prototype meets all desired criteria and has been thoroughly tested, finalize the design for production. Make any final adjustments based on the insights gained during the prototyping phase.
By following these steps and utilizing the appropriate prototyping techniques, you can successfully create a plastic prototype that serves as a valuable tool for design validation, testing, and communication throughout the product development process.
Some Common Materials For A Plastic Prototype?
Certainly! Here’s a table categorizing various plastic materials and indicating their suitability for different plastic prototyping methods: CNC Machining, Injection Molding, 3D Printing, and Urethane Casting.Some plastic prototyping processes don’t support some materials, while others support a much wider range of plastic resins, including glass-filled compounds.
| Plastic Material | CNC Machining | Injection Molding | 3D Printing | Urethane Casting |
|---|---|---|---|---|
| ABS | ✓ | ✓ | ✓ | ✓ |
| ABS-Like | ✓ | ✓ | ✓ | ✓ |
| Acetal/POM (Delrin) | ✓ | ✓ | ✗ | ✓ |
| Acrylic (PMMA) | ✓ | ✓ | ✓ | ✓ |
| Acrylic-Like | ✓ | ✓ | ✓ | ✓ |
| Accura 25 | ✓ | ✓ | ✗ | ✗ |
| Accura ClearVue | ✓ | ✓ | ✗ | ✗ |
| ASA | ✓ | ✓ | ✓ | ✓ |
| HDPE | ✓ | ✓ | ✗ | ✓ |
| HIPS | ✓ | ✓ | ✗ | ✓ |
| LDPE | ✓ | ✓ | ✗ | ✓ |
| Nylon | ✓ | ✓ | ✓ | ✓ |
| Nylon Glass-Filled | ✓ | ✓ | ✓ | ✓ |
| PA 12 Glass Beads | ✓ | ✓ | ✗ | ✗ |
| PBT | ✓ | ✓ | ✓ | ✓ |
| PC | ✓ | ✓ | ✓ | ✓ |
| PC Glass-Filled | ✓ | ✓ | ✓ | ✓ |
| PC/ABS | ✓ | ✓ | ✗ | ✓ |
| PE | ✓ | ✓ | ✗ | ✓ |
| PEEK | ✓ | ✓ | ✗ | ✓ |
| PEEK Glass-Filled | ✓ | ✓ | ✗ | ✓ |
| PEI (Ultem) | ✓ | ✓ | ✗ | ✓ |
| PET | ✓ | ✓ | ✗ | ✓ |
| PETG | ✓ | ✓ | ✓ | ✓ |
| PLA | ✓ | ✗ | ✓ | ✓ |
| PP | ✓ | ✓ | ✓ | ✓ |
| PPA | ✓ | ✓ | ✓ | ✓ |
| PPO | ✓ | ✓ | ✓ | ✓ |
| PPS | ✓ | ✓ | ✗ | ✓ |
| PTFE | ✓ | ✗ | ✗ | ✓ |
| PPSU | ✓ | ✓ | ✗ | ✓ |
| PVC | ✓ | ✓ | ✗ | ✓ |
| SAN (AS) | ✓ | ✓ | ✓ | ✓ |
| Rubber-Like | ✗ | ✗ | ✓ | ✓ |
| TPE | ✗ | ✗ | ✓ | ✓ |
| TPE-Like | ✗ | ✗ | ✓ | ✓ |
| TPU | ✗ | ✗ | ✓ | ✓ |
| TPU-Like | ✗ | ✗ | ✓ | ✓ |
| TPV | ✗ | ✗ | ✓ | ✓ |
| UHMW | ✓ | ✗ | ✗ | ✓ |
| Vero | ✓ | ✓ | ✗ | ✗ |
| Vero Clear | ✓ | ✓ | ✗ | ✗ |
How Can I Get A Plastic Prototype Made?
There’s plenty to consider if you want to create the perfect plastic prototype, but Be-Cu is ready to help. Be-Cu is your operating factory for custom manufacturing that makes prototype part procurement faster, easier, and more efficient. We support all of the above plastic prototyping methods, and the end result is you building better products, faster, no matter which type of prototype you need.
-

CNC Machining Bakelite Circuit Board Test Fixture
-
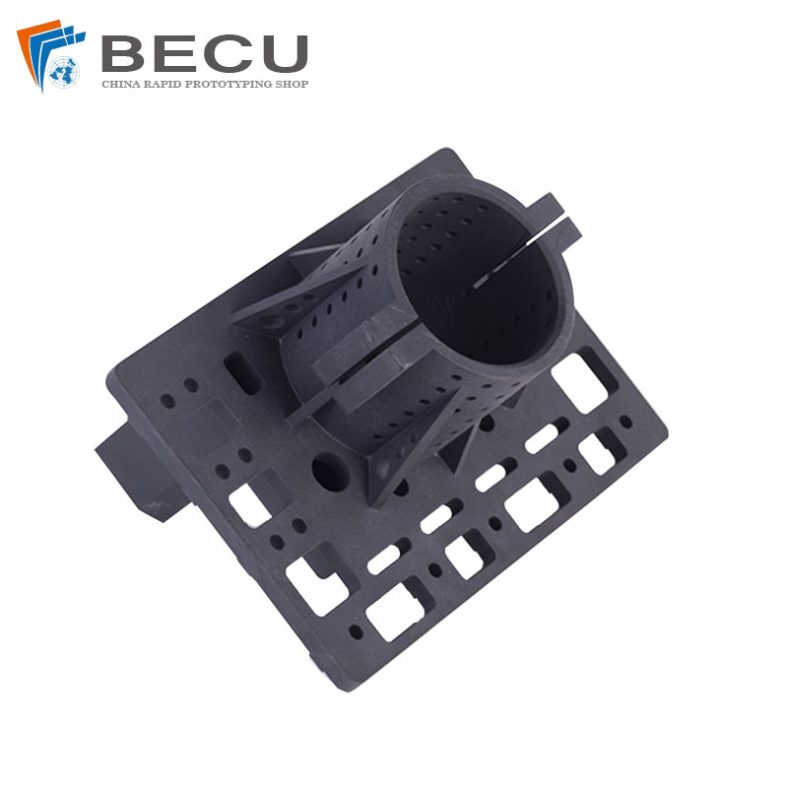
3D Printing Pool Pressure Cleaner Parts and Accessories
-
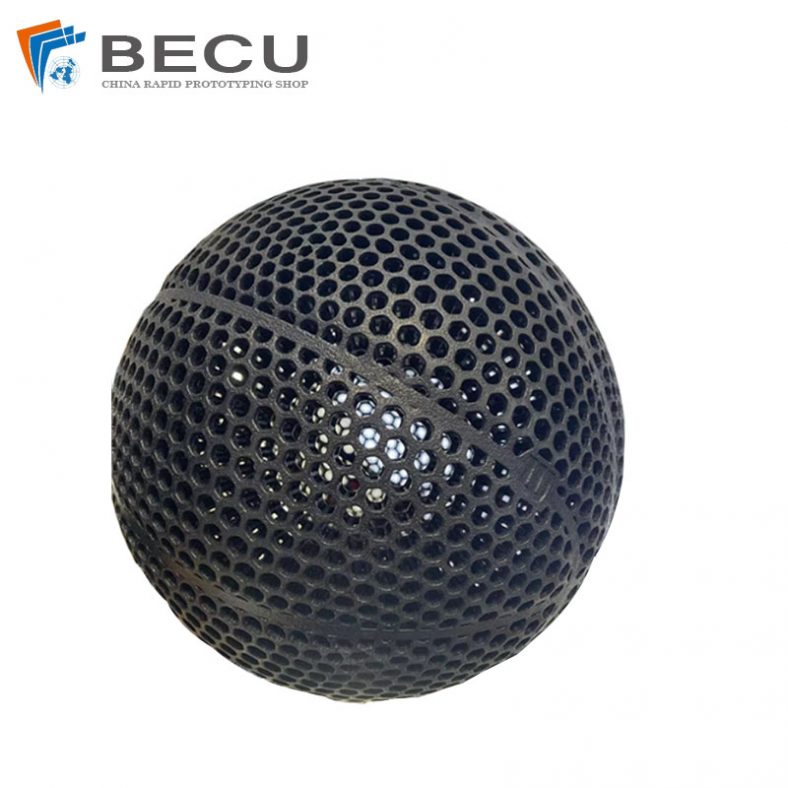
Nylon 3D Printed Size 5 Basketball
-
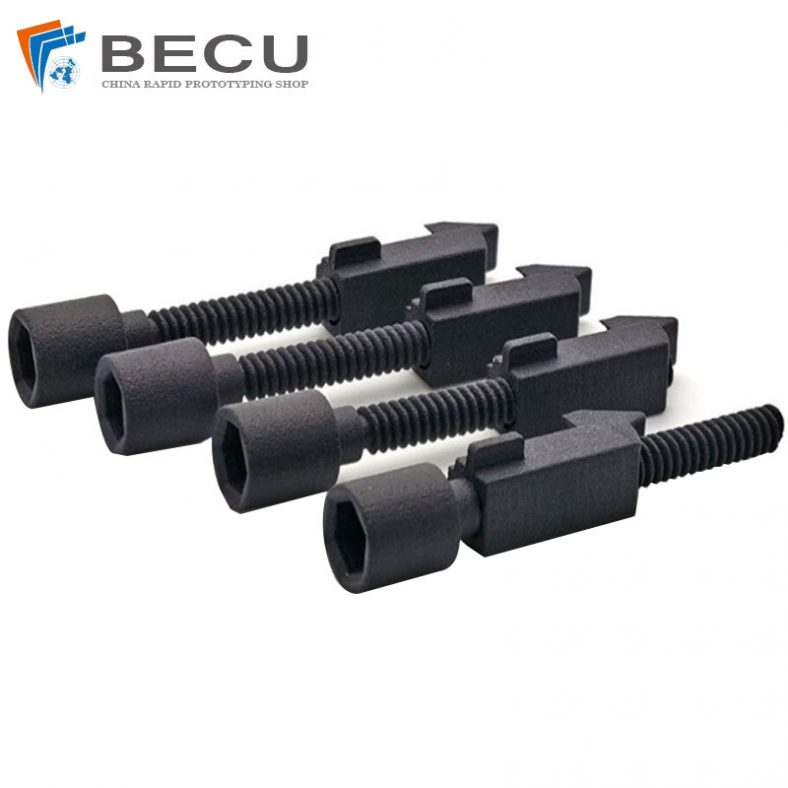
Black Nylon Medical Threaded Screw By MJF 3D Printing
-
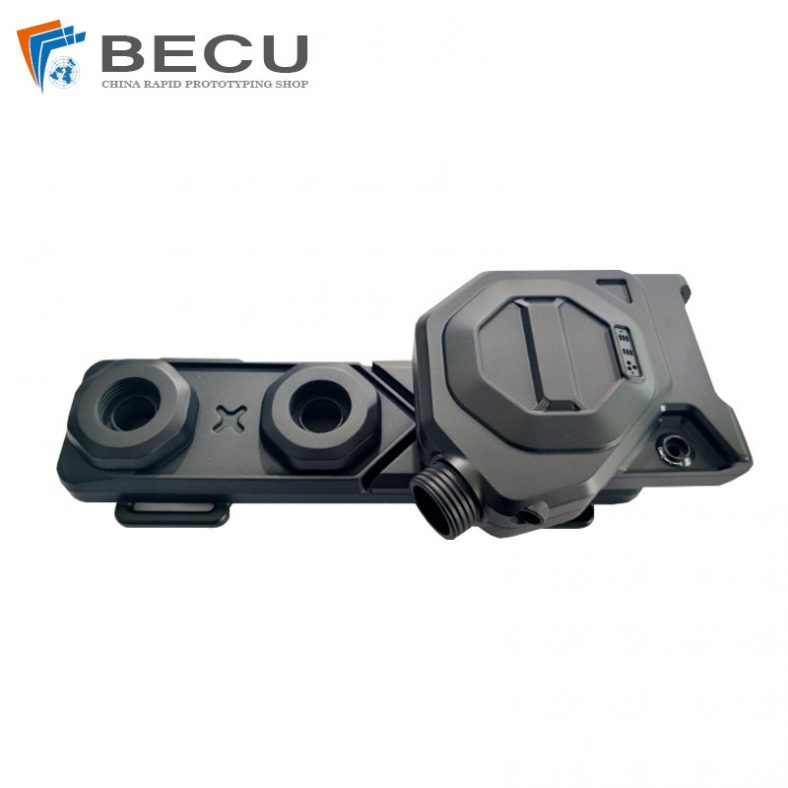
MJF 3D Printing Black Nylon Red Dot Sighting For Medical
-
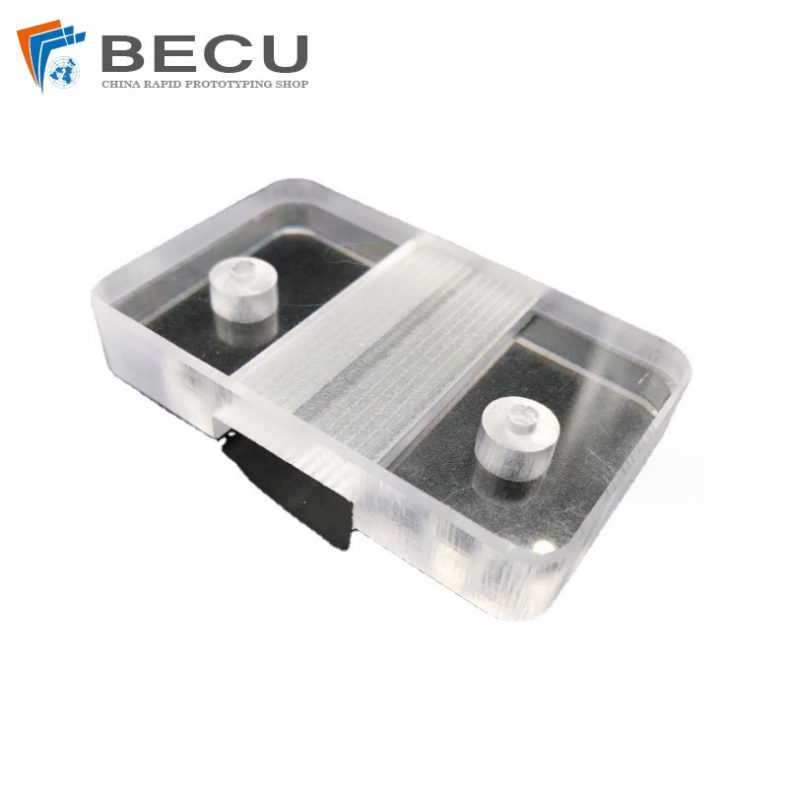
CNC Machining Anti-static Translucent PC Optical Parts
-
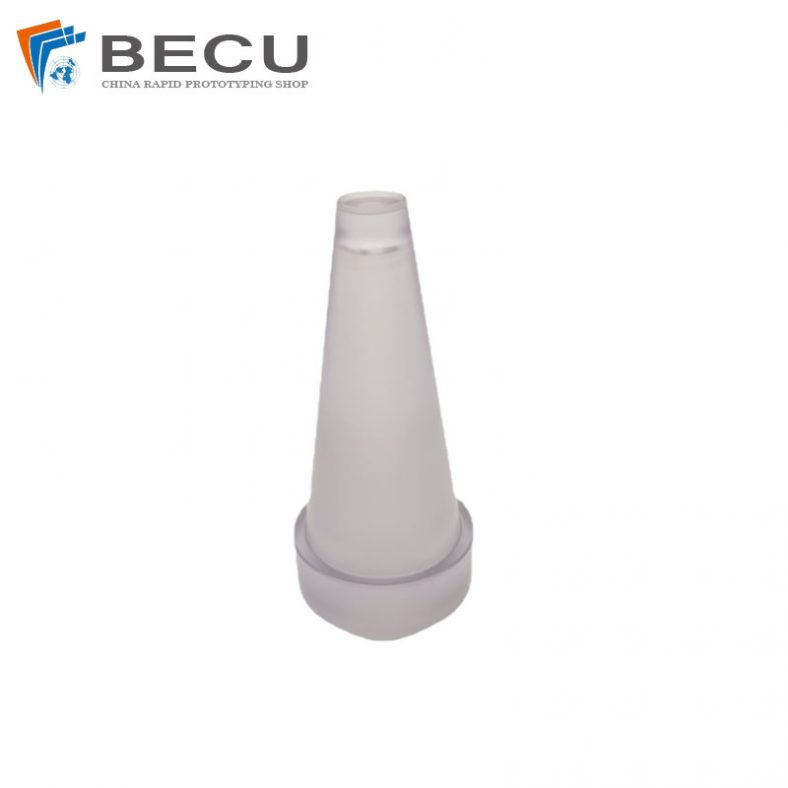
Precision Turning 20° Acrylic Downlight Reflector
-
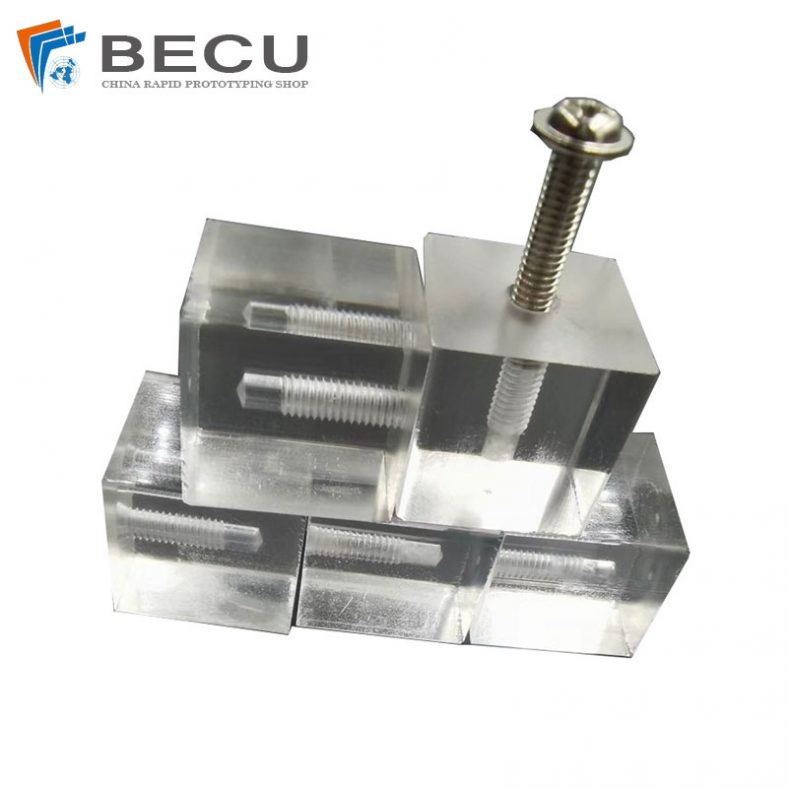
Transparent Acrylic Faceted Cube Threaded Clamp
